Microsoft Bookings integration
Microsoft Bookings makes scheduling and managing appointments a breeze. Bookings includes a web-based booking calendar and integrates with Outlook to optimize your staff’s calendar and give your customers flexibility to book a time that works best for them. Your organization saves time with a reduction in repetitive scheduling tasks. With built-in flexibility and ability to customize, Bookings can be designed to fit the situation and needs of many different parts of an organization.
The Vizito integration for Microsoft Bookings can automatically create registered visitors for anyone scheduling a meeting.
Prerequisite: A subscription to Microsoft Power Automate. More information can be found here Power Automate website
Skip Step 1 if you already have your Microsoft Bookings set up. Click here to jump to step 2
Step 1: Microsoft Bookings - set up a calendar and a 1:1 service
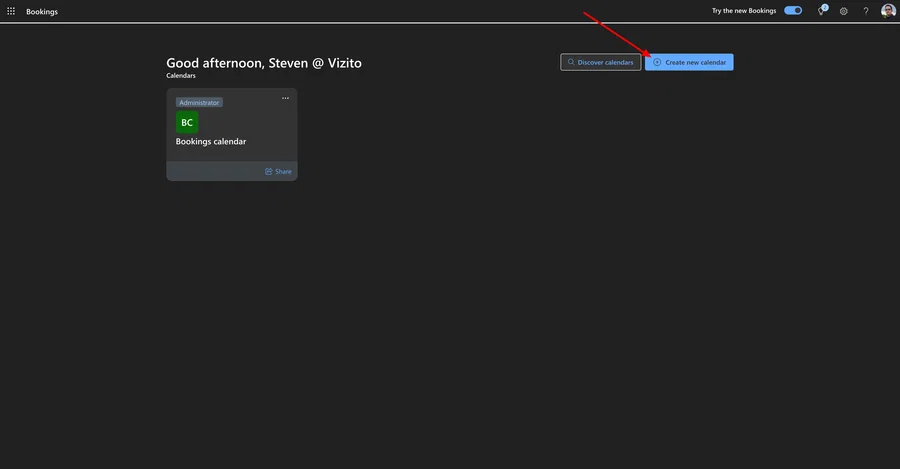
Navigate to the Microsoft Bookings app.
Click on “Create new calendar”.
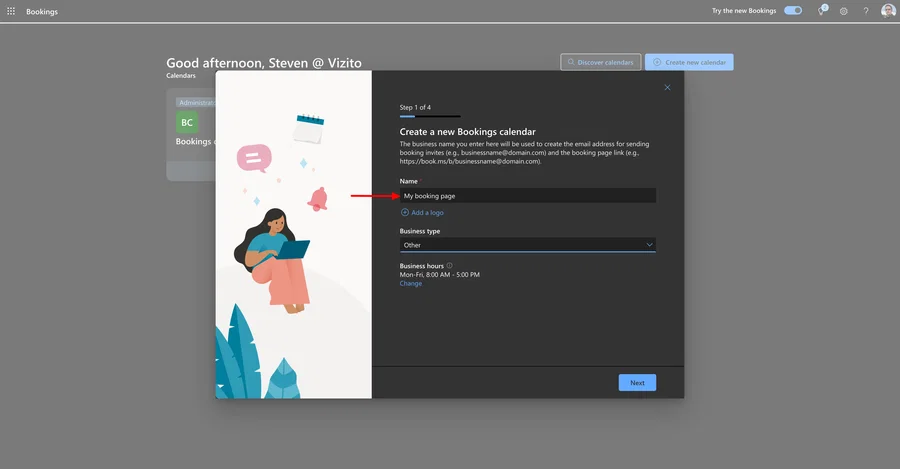
Click on “Create from scratch”.

Enter a name reference and possibly change the business type and/or Business hours.
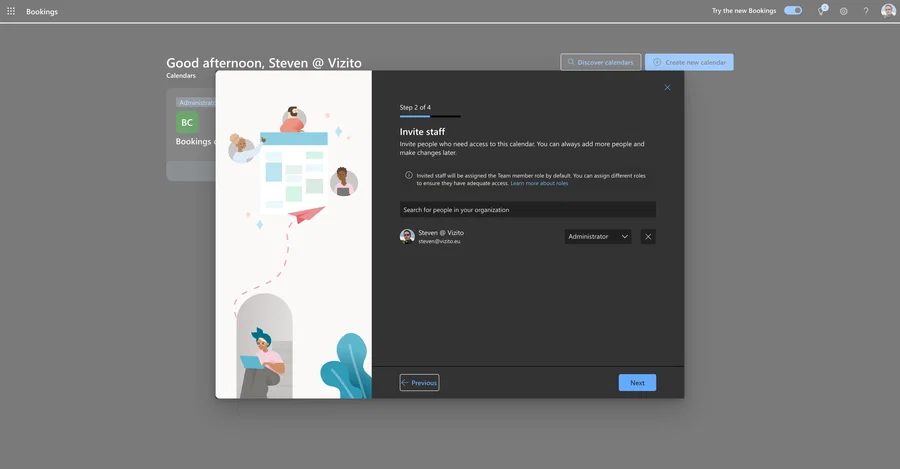
Invite people to gain access to the calendar.
Click next.

Configure who can book appointments.

Notice that under “Services” a 30-min meeting has been created.
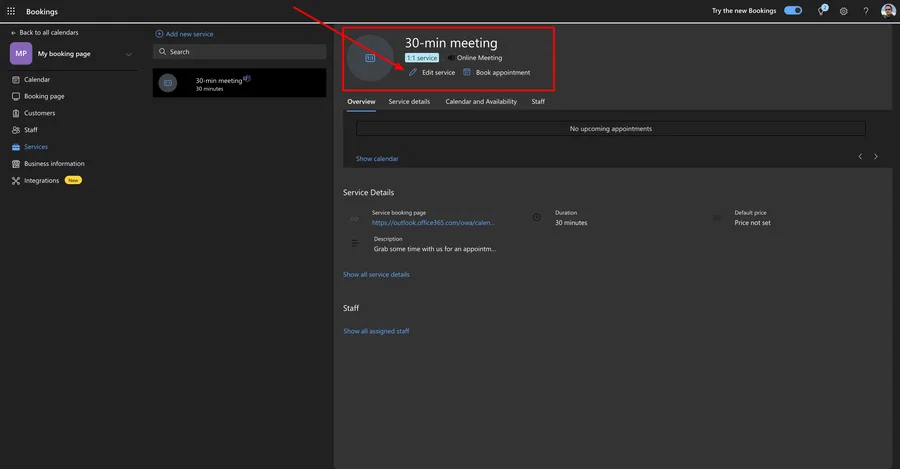
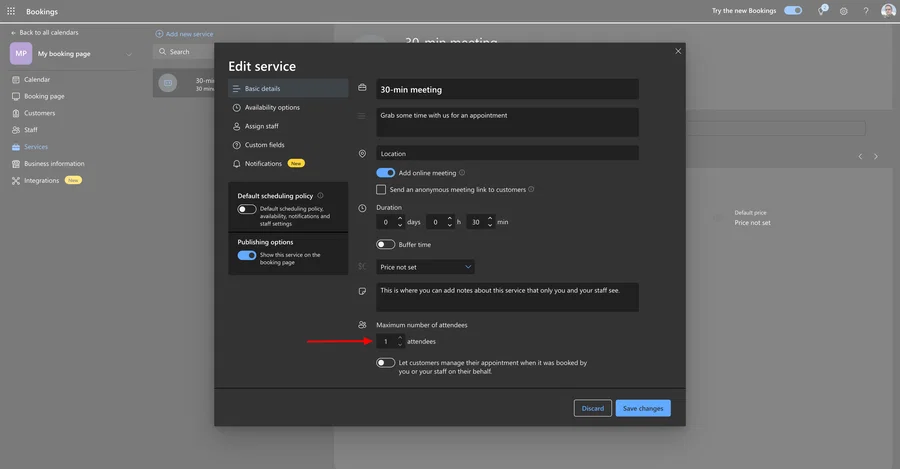
It’s important to note that for this guide specifically, the service is required to be set up as a 1:1 service. Meaning a maximum of 1 attendees per booking.
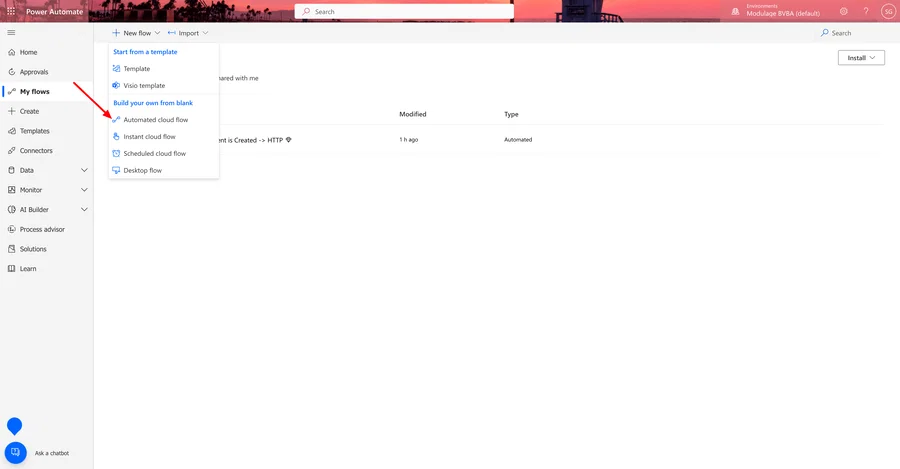
Step 2: Configure a cloud flow in Microsoft Power Automate
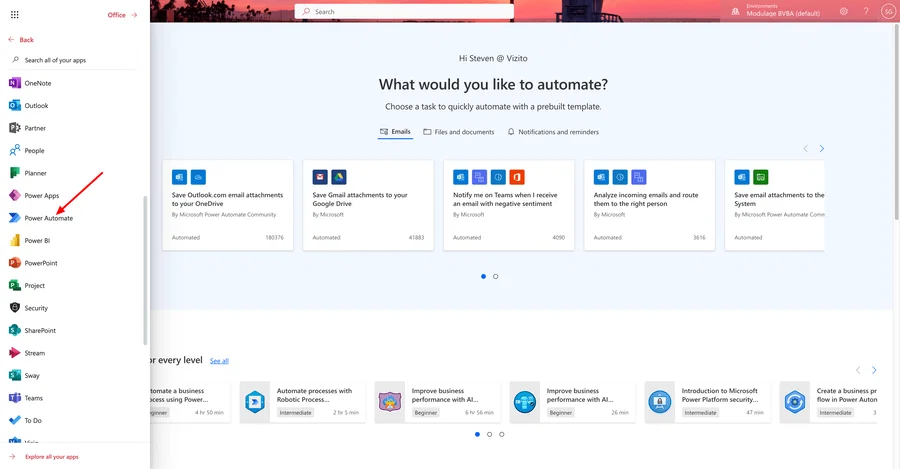
Navigate to the Power Automate app.
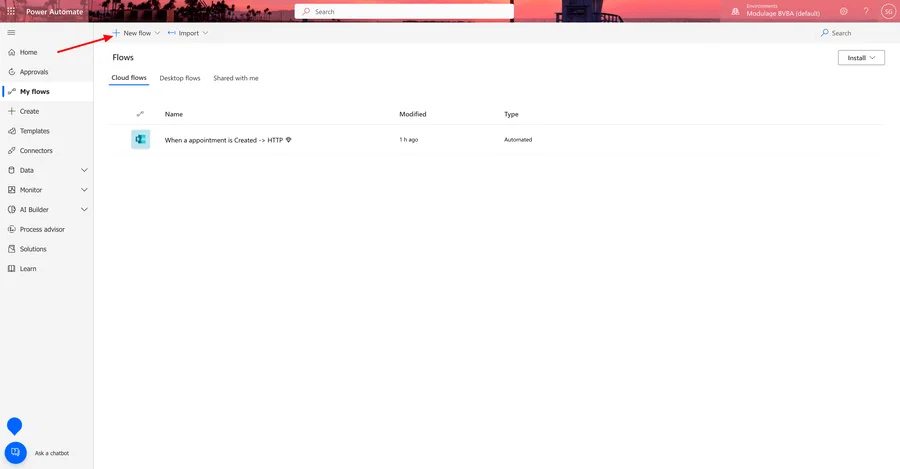
Click on “New flow”.
Click on “Automated cloud flow”.
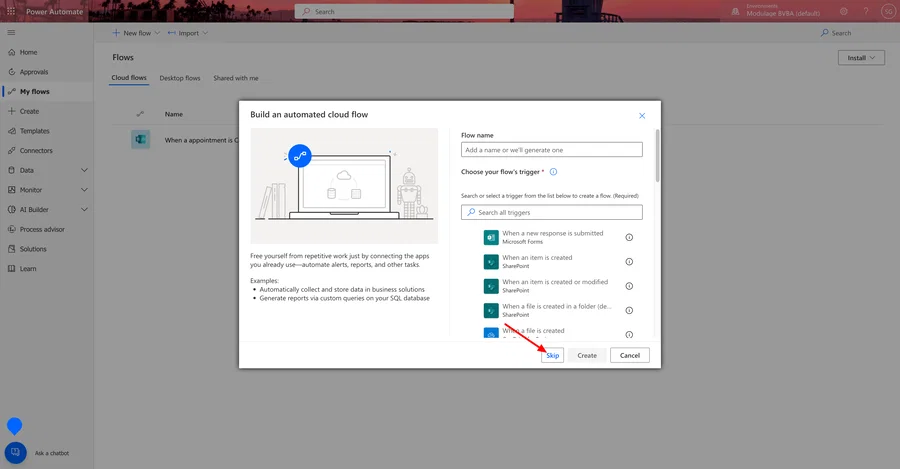
Click “Skip”.
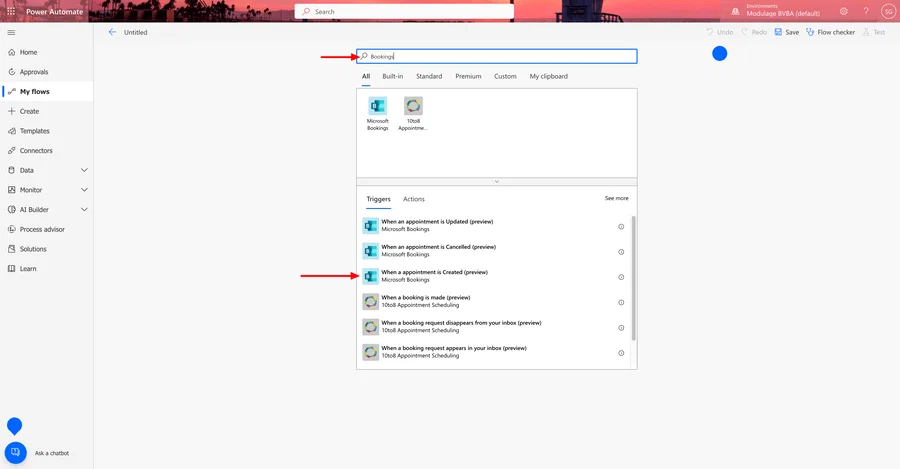
Search for “Bookings” and add the trigger “When an appointment is created”
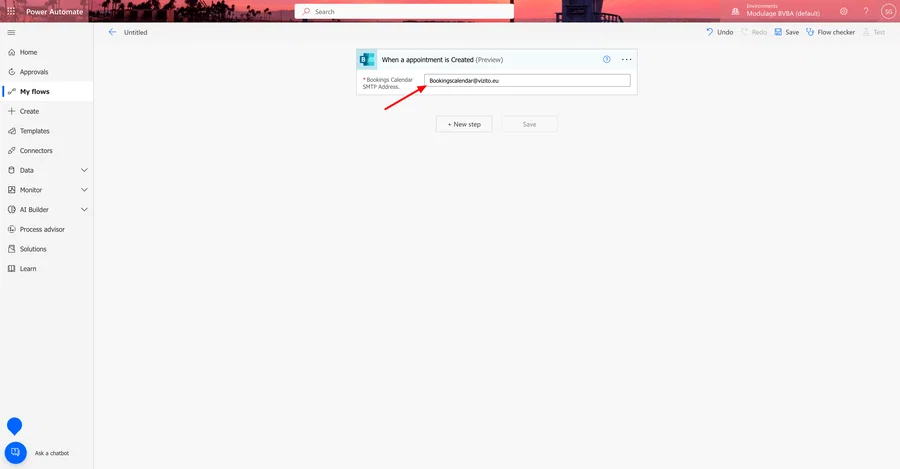
Set the “Bookings Calendar SMTP address”. This is the email address that reflects your Bookings calendar.
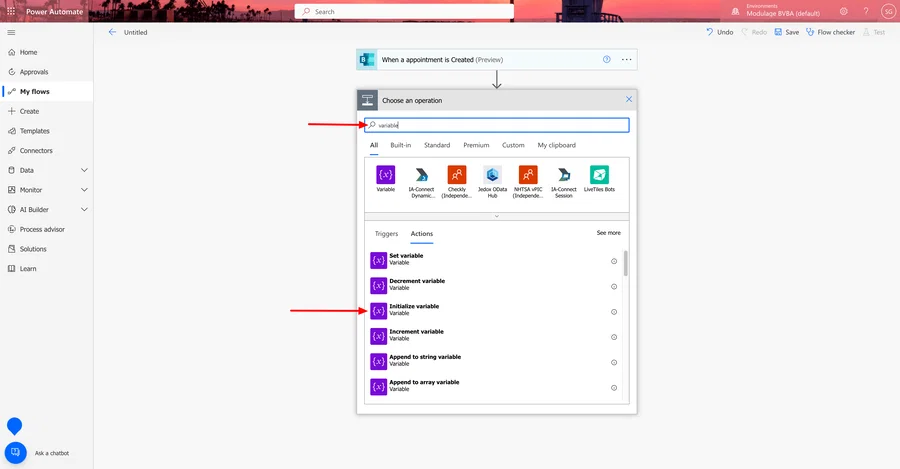
Search for “variable” and add the trigger “Initialize variable”.
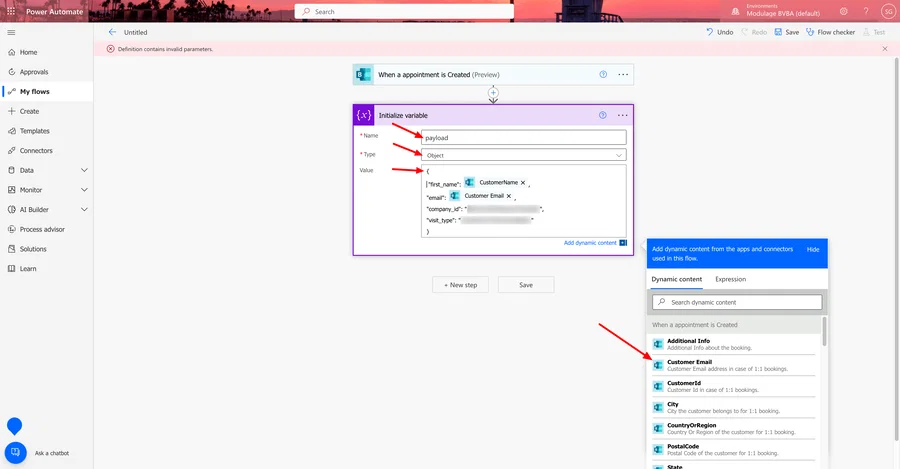
Set the name to “payload”. Set the type to “Object”. Set the value to:
{
  "first_name": CustomerName,
  "email": Customer Email,
  "company_id": "<enter company id here>",
  "visit_type": "<enter visit type id here>"
}
You can easily select “CustomerName” and “Customer Email” from the Dynamic content popup shown on the bottom right of the screen. Towards company_id and visit_type references, please get in touch with support@vizito.eu as these are specific to your account.
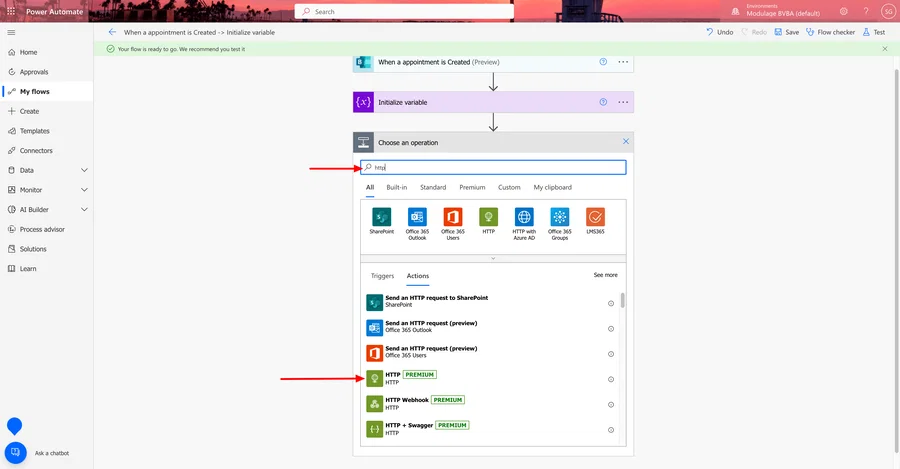
Search for “http” and add the trigger “HTTP”.
Set method to “POST”.
Set URI to https://api.vizito.be/api/knownvisitors
Set body to payload via the dynamic content popup in the bottom right of your screen.
Set authentication to “Basic” and enter the username (email address) and password from a person that has access to your Vizito account. You could create a specific api user for this goal on our Vizito backoffice under the menu item “Users”.
