Pre-registration
In this article
Pre-registration lets a visitor check and complete their own details before they arrive. You invite them from the backoffice, they fill in the form from home, their own office or on the go, and on the day of the visit they only have to look themselves up at the tablet.
The invitation email carries a personal link. Behind it the visitor can correct their name and company details, read your agreements and sign. Use it for visits where you want the paperwork out of the way before the visitor reaches your reception.
Invite a registered visitor
-
Open the Vizito backoffice and select “General” > “Manage registered visitors” in the left menu.
-
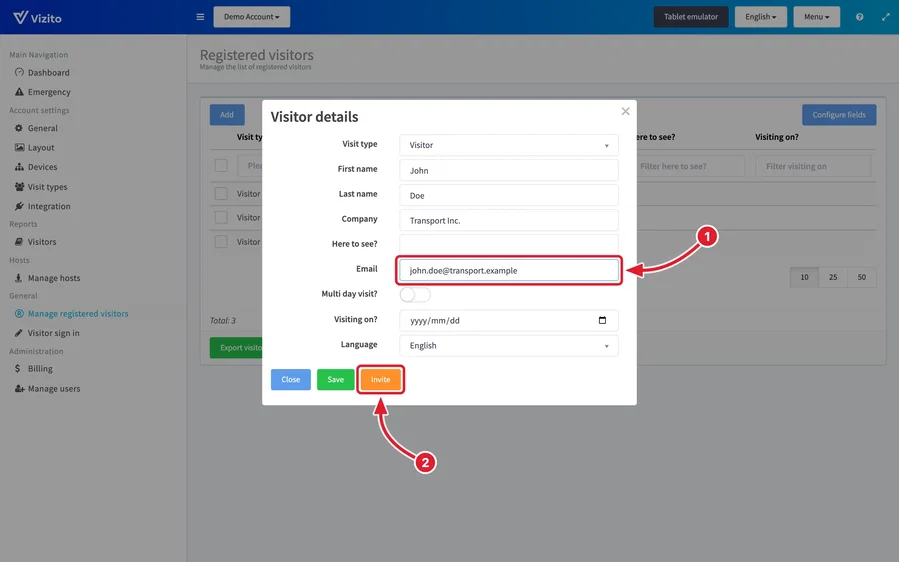
Click “Add”. The “Visitor details” window opens.
-
Fill in the visitor’s details. “Email” is the field that matters here: without an email address there is nowhere to send the invitation to. “Language” sets the language of both the invitation email and the pre-registration page.
-
Click “Invite”. This saves the visitor and sends the invitation in one step. “Save” only stores the visitor without inviting them, so use “Invite” whenever you want the visitor to pre-register.
The invitation itself is a template you can edit per visit type. Open “Account settings” > “Visit types”, click “Edit” on the visit type, open the “Notifications” tab, and click “Edit” next to “Email template invitation” under “Notifications to your visitors”.
What the visitor does
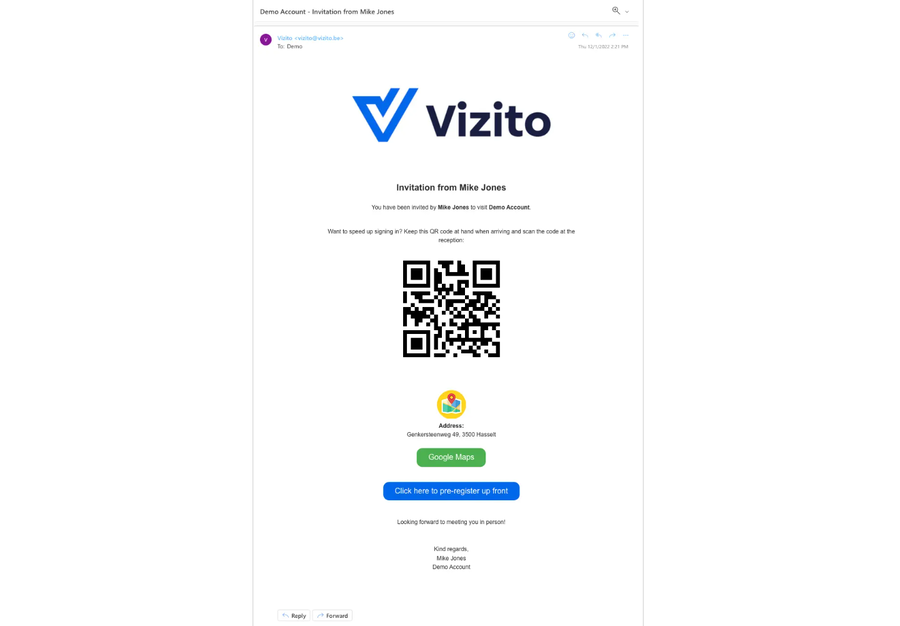
The visitor receives the invitation and opens their pre-registration page with the blue button in the email.
-
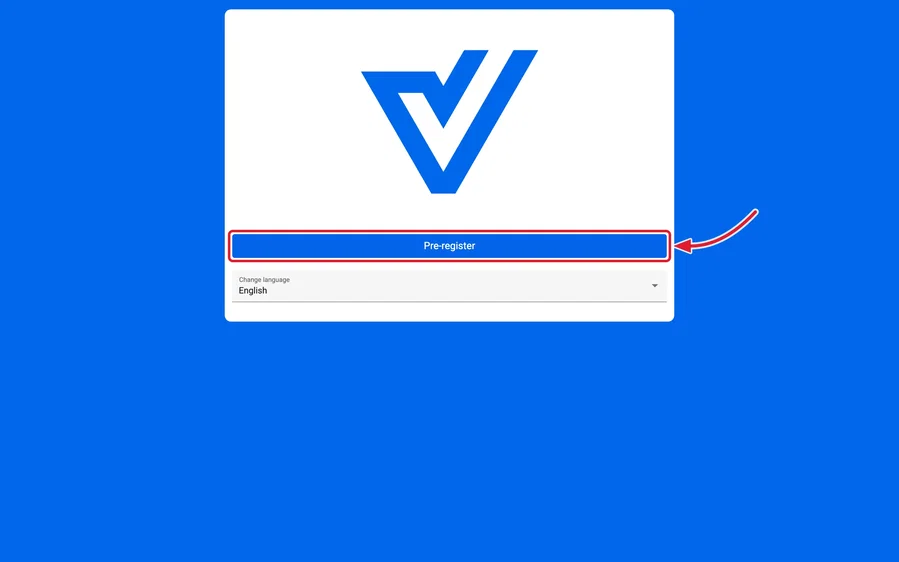
The visitor clicks “Pre-register” to start.
-
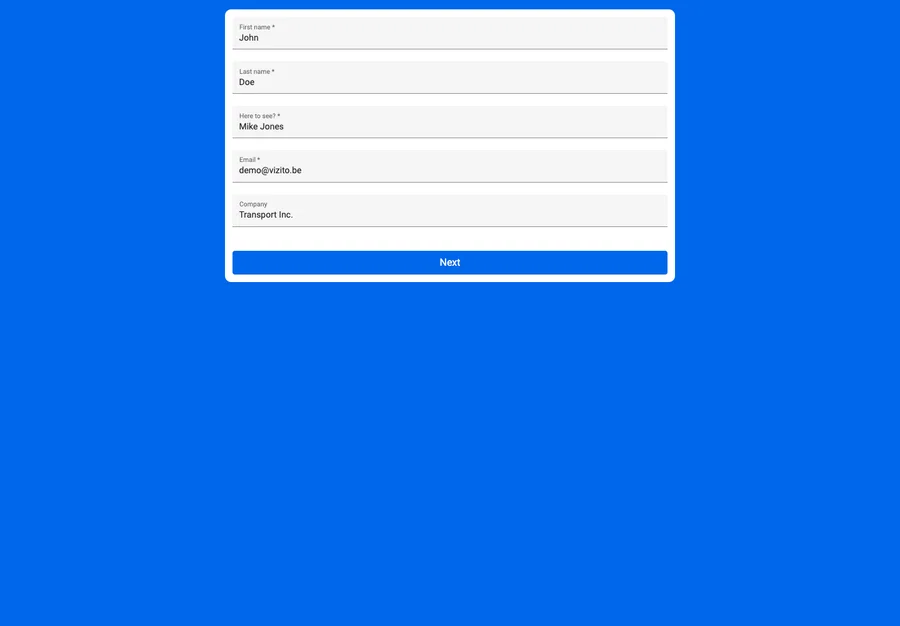
They check and complete their details and click “Next”. Which fields appear depends on the visit type they were invited for.
-
If a visitor photo is enabled for the visit type, they can take one with “Take photo”, or skip it with “Next”.
-
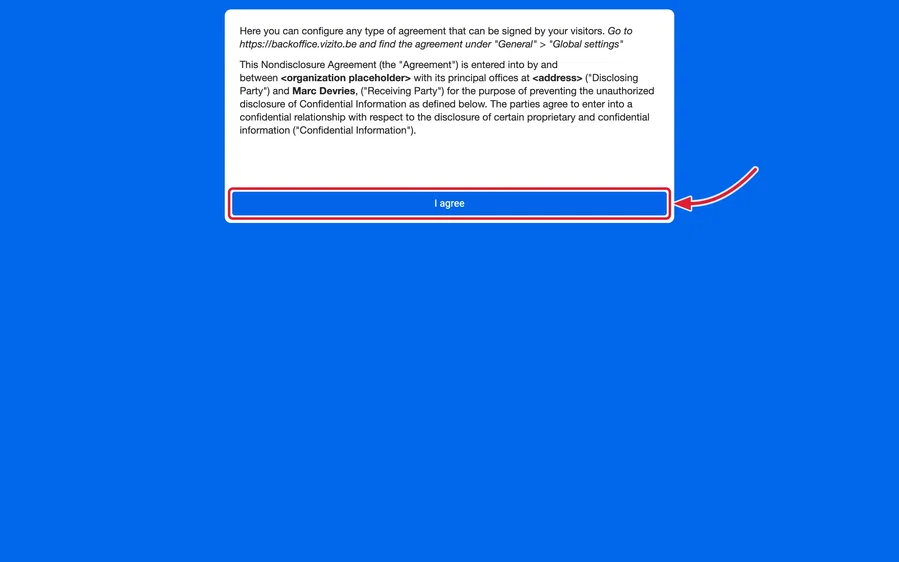
They read the agreements that apply to their visit type and confirm with “I agree”.
-
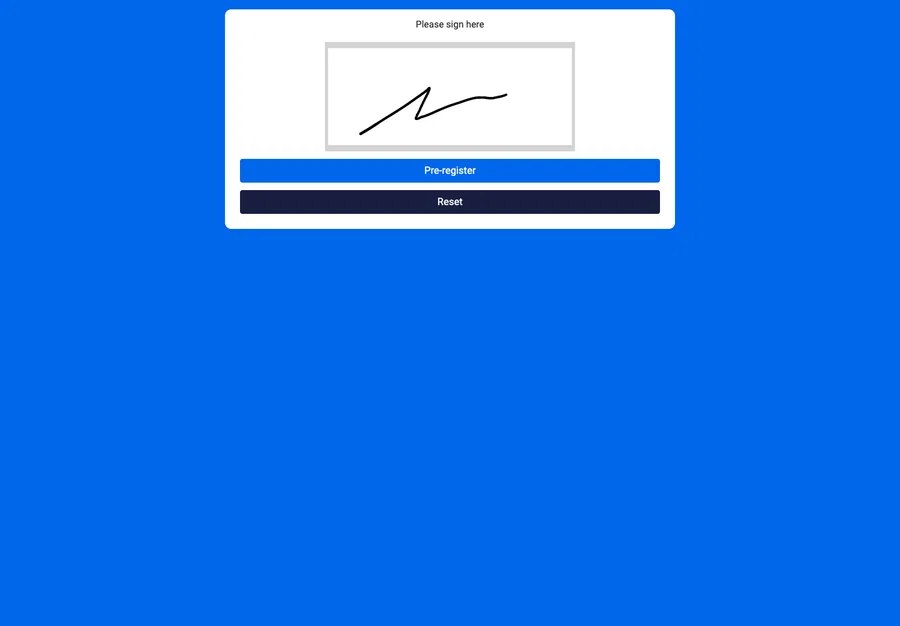
They sign and click “Pre-register”.
-
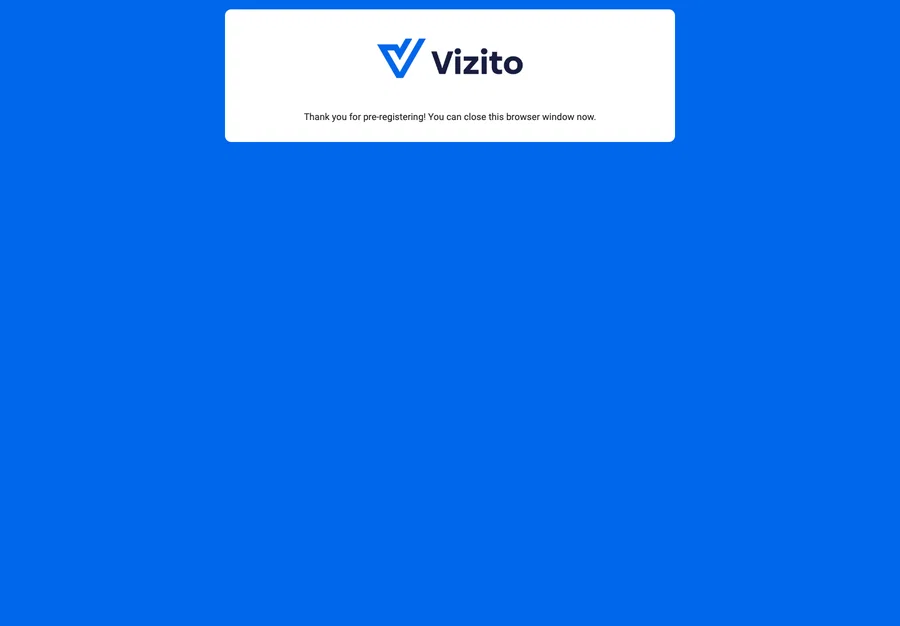
A confirmation tells them they are done and can close the window.
Signing in on the day of the visit
-
Tap “Sign In” on the tablet and choose the visit type.
-
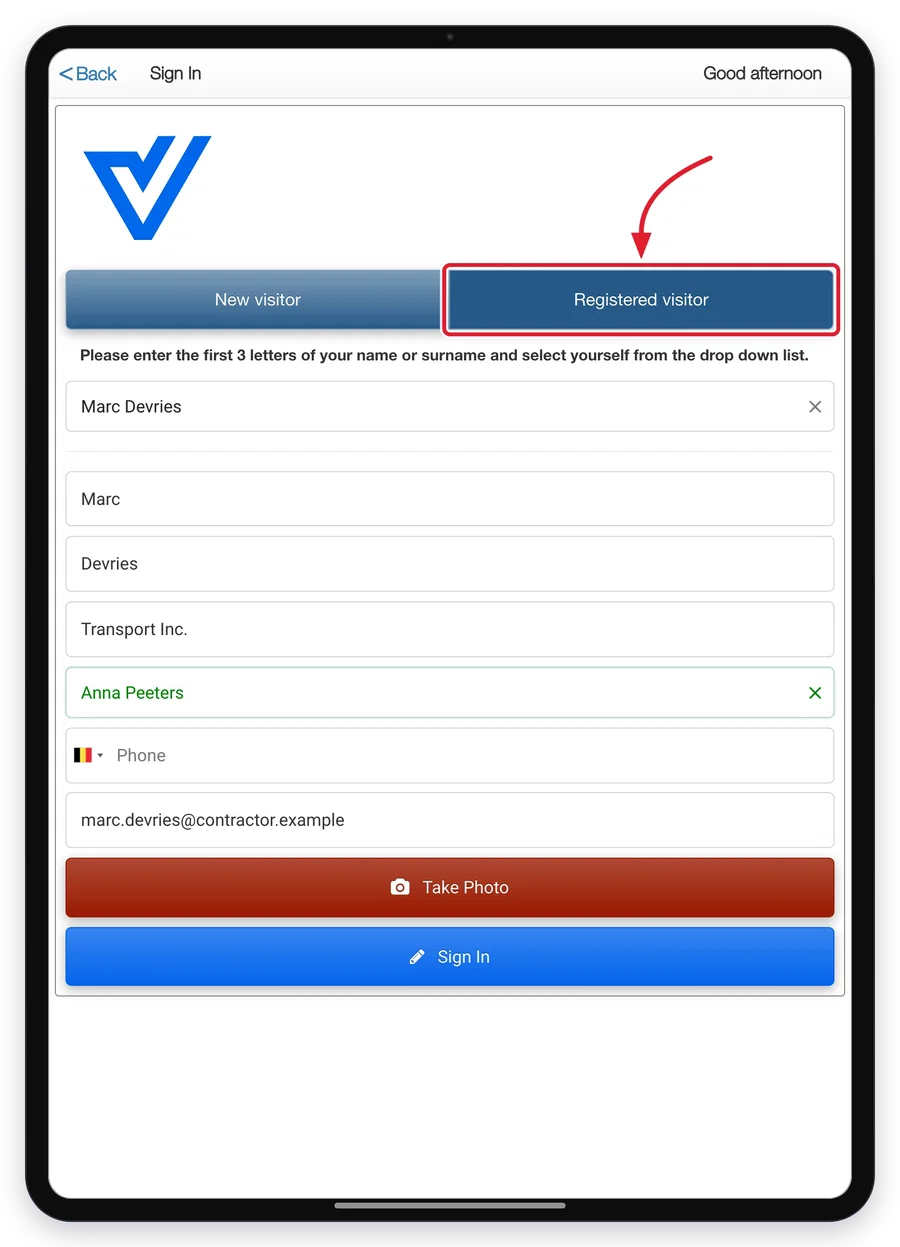
Tap “Registered visitor”, type the first letters of the name, and select the visitor from the list. The details they entered up front come back pre-filled.
Instead of looking themselves up, visitors can scan the QR code from their invitation email, provided “QR code sign in” is switched on under “Account settings” > “General”. See QR-code signin.
-
Tap “Sign In”, accept the agreement, sign, and tap “Sign In” once more to finish.
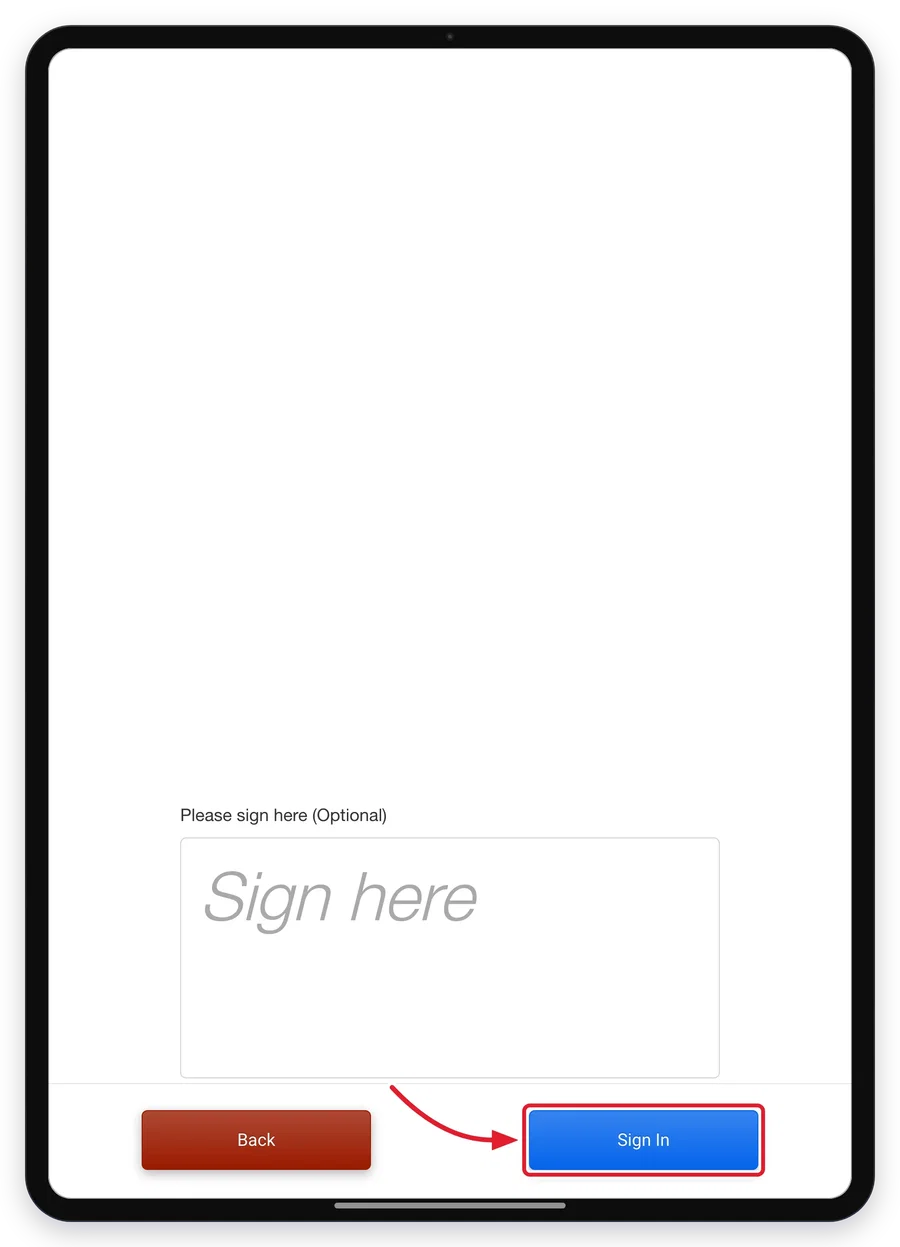
Pre-registering does not remove the agreement and signature steps at the tablet: the visitor confirms them again on arrival. The signature screen appears when “Enable signature” is switched on for the visit type, under “Account settings” > “Visit types” > “Edit” > “Legal”. “Require signature” on the same tab decides whether that signature is mandatory. The agreements themselves are configured under “Account settings” > “General”.
When pre-registration goes wrong
The visitor sees an error right after signing. The pre-registration page saves nothing until the very last step: the details, the accepted agreements and the signature are sent together when the visitor clicks “Pre-register” on the signature screen (or “I agree” on the last agreement when the visit type has no signature). If that one request fails, the page shows “Link is no longer valid. Please contact support@vizito.be”, even though the link itself is usually fine, and nothing from that attempt was saved. The usual causes:
- They took longer than fifteen minutes. Opening the link starts a fifteen-minute window for the whole form. A visitor who opens the page, gets interrupted and signs half an hour later is refused at the end. The fix is simply to open the link from the email again and go through the form in one go; the link can be opened as often as needed.
- The connection dropped at that moment, for instance a phone leaving Wi-Fi. Same fix: open the link again.
- The visiting date has passed, or the registered visitor was deleted in the backoffice, or their visit type was removed. Then the link is really no longer valid, and every attempt ends on the same message. Invite the visitor again from “Manage registered visitors”, which sends a fresh link.
“An error occurred trying to retrieve the PDF agreement.” appears when an agreement’s PDF cannot be loaded on the visitor’s device. It is nearly always a company network blocking vizito.nl.object-storage.io, where the documents are stored. The visitor can open the link on their phone instead, or you check the agreement under “Account settings” > “General”.
Was the visitor registered anyway? Open “General” > “Manage registered visitors” and click the visitor: if pre-registration went through, their details are filled in and the agreements are listed. If not, their record is still the one you created when you invited them, which is all they need to sign in on the day.
Arriving without having pre-registered works. Pre-registration is a convenience, not a condition. A visitor who never opened the link, or whose attempt failed, is still a registered visitor: on the day they look themselves up under “Registered visitor” on the tablet, or scan the QR code from their invitation, and complete whatever is missing there, including the agreements and the signature. Nothing has to be redone in the backoffice.
Registered visitors are set up per visit type. See Registered visitors for adding them and for what a visiting date does.