Privacy
In this article
Vizito keeps visitor data for as long as you tell it to, and lets you erase the details of a single visit on request. Both are set up in the backoffice: the retention policy under “Account settings” > “General”, and the erasure of one visit from the visitor log.
Set a data retention policy
A retention policy cleans up visitor data automatically after a number of days, so you do not have to do it by hand. It is switched off by default.
-
Open the Vizito backoffice and select “Account settings” > “General” in the left menu.
-
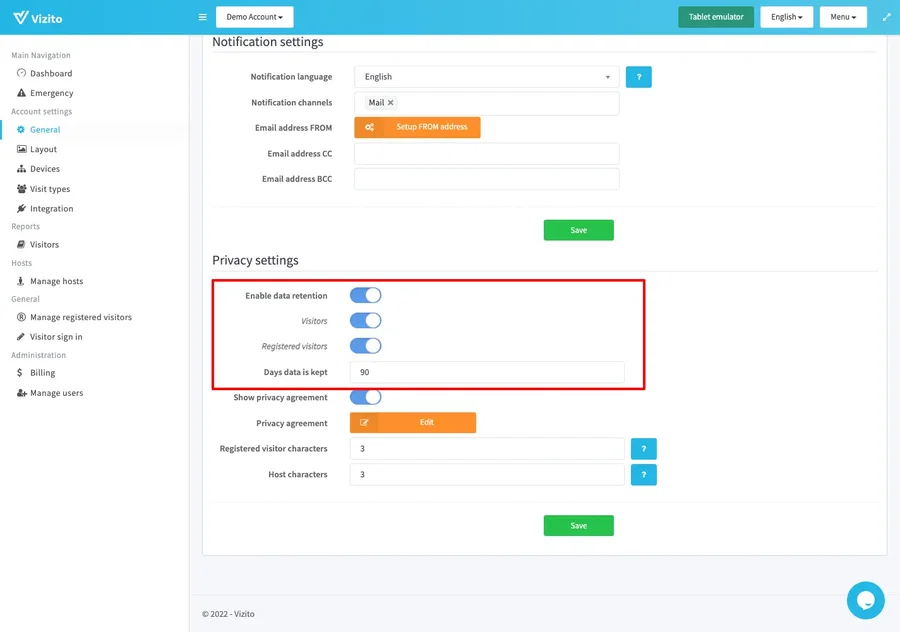
Scroll down to “Privacy settings” and switch on “Enable data retention”. The rest of the section only appears once this is on.
-
Switch on “Visitors”, “Registered visitors” or both, depending on which data you want cleaned up.
-
Fill in “Days data is kept” underneath each row you switched on. The two rows keep their own day count, so you can hold on to visits and to registered visitors for different lengths of time.
-
Click “Save” at the bottom of “Privacy settings”.
What happens when the number of days runs out differs per row:
- Visitors anonymises the entries in your visitor log. All visitor-sensitive information is removed from the entries, but all organization-specific information remains available (such as sign in or out date/time, and Host information).
- Registered visitors removes the registered visitor completely. The countdown runs towards the “Visiting on?” date rather than the day you created the entry. To keep one registered visitor out of the policy, switch on “Persistent” in their details. See Registered visitors.
Anonymise a single visit
Use this when a visitor asks you to erase their data, or when your own procedures call for it.
-
Select “Reports” > “Visitors” in the left menu. The “Visitor log” holds a history of all visitors.
-
Click the visit you want to anonymise. The “Visitor details” window opens.
-
Click “Anonymize”.
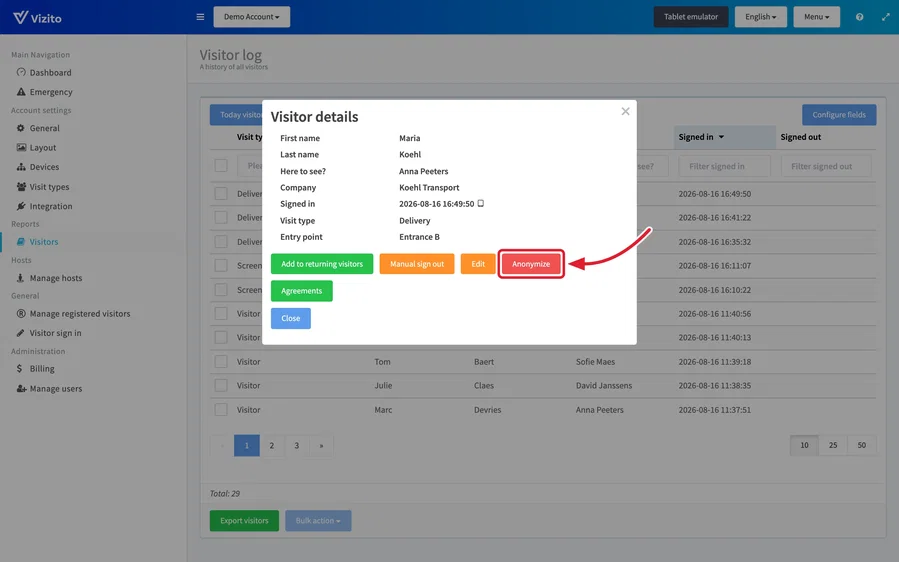
Check that you have the right visit open before you click.
Agreements replaced the privacy statement
The privacy statement that older versions of Vizito showed at the tablet has been replaced by agreements. An agreement is a document your visitors read and digitally sign before they finish signing in, and you can use one for a privacy statement, an NDA, safety instructions or anything else. Each agreement is assigned to the visit types it applies to, so not every visitor has to sign everything.
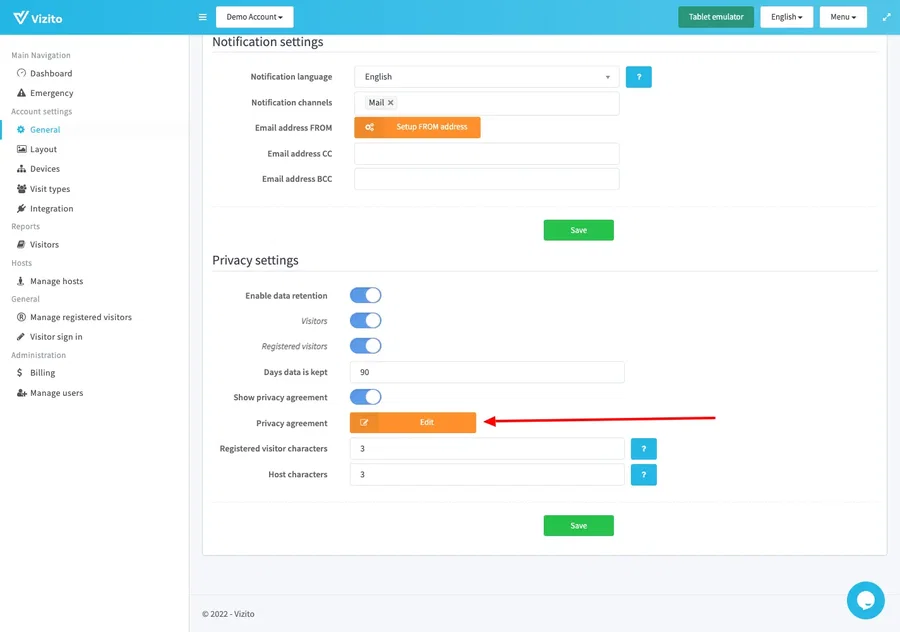
Agreements are set up under “Account settings” > “General”. Under “Location settings”, find the “Agreements” row and click “Edit”.
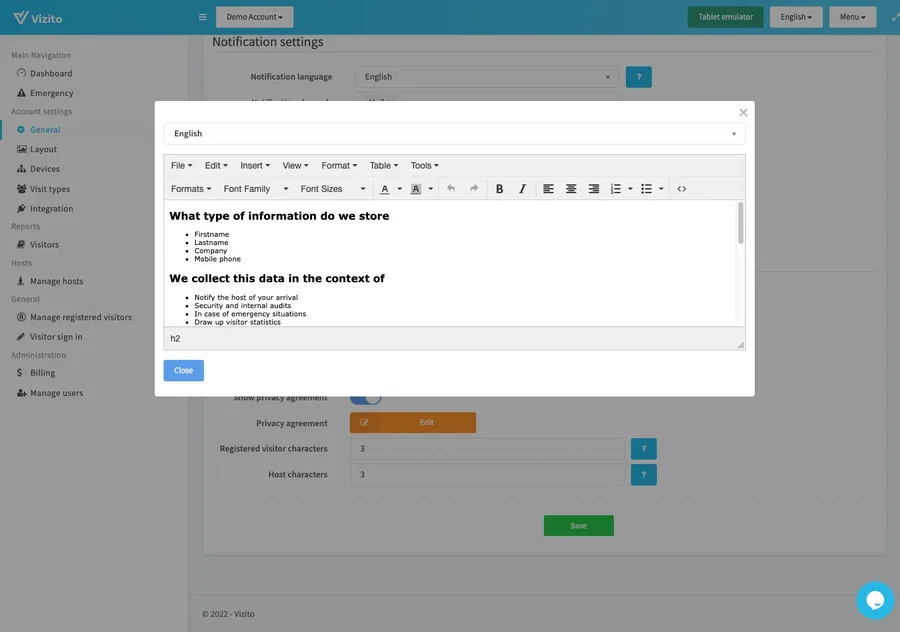
Every agreement has its own text per language: pick the language from the “Language” dropdown and write the text underneath, then repeat for every language your app offers.
The “Legal” tab of a visit type no longer holds agreements either: it now points back to “Account settings” > “General”. For the full walkthrough, including video and PDF agreements, see Agreements.