In order to integrate AeroHive with Vizito you will need the following things:
- Vizito account
- AeroHive developer account
- Access to your AeroHive Manager NG platform. If you are using an older platform, please contact your reseller to upgrade.
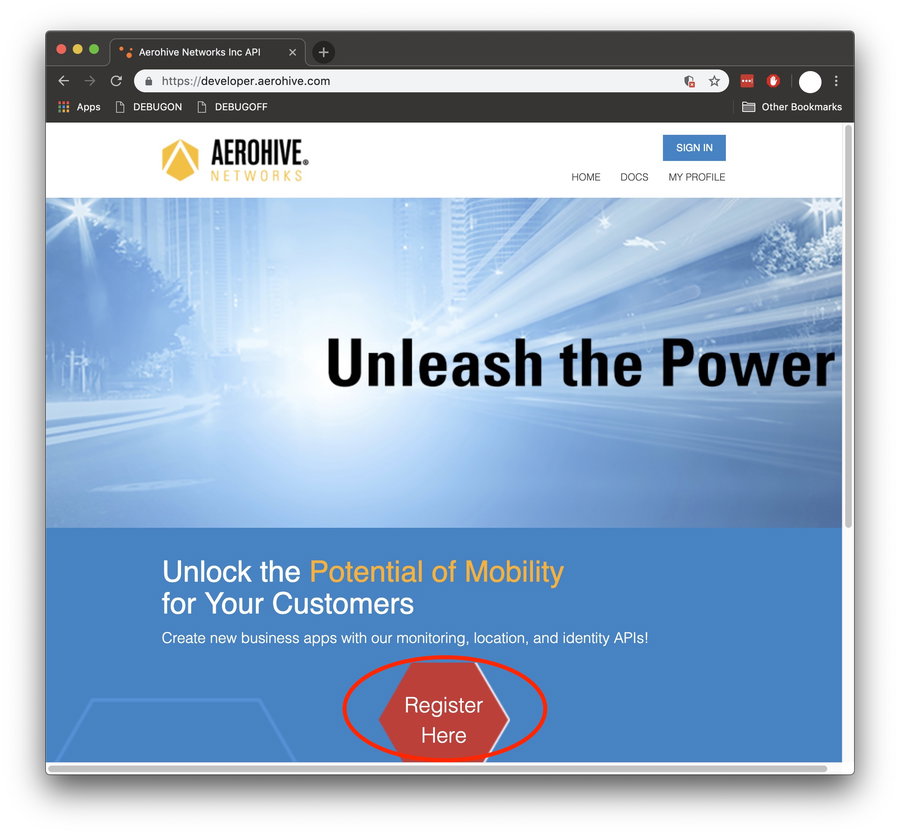
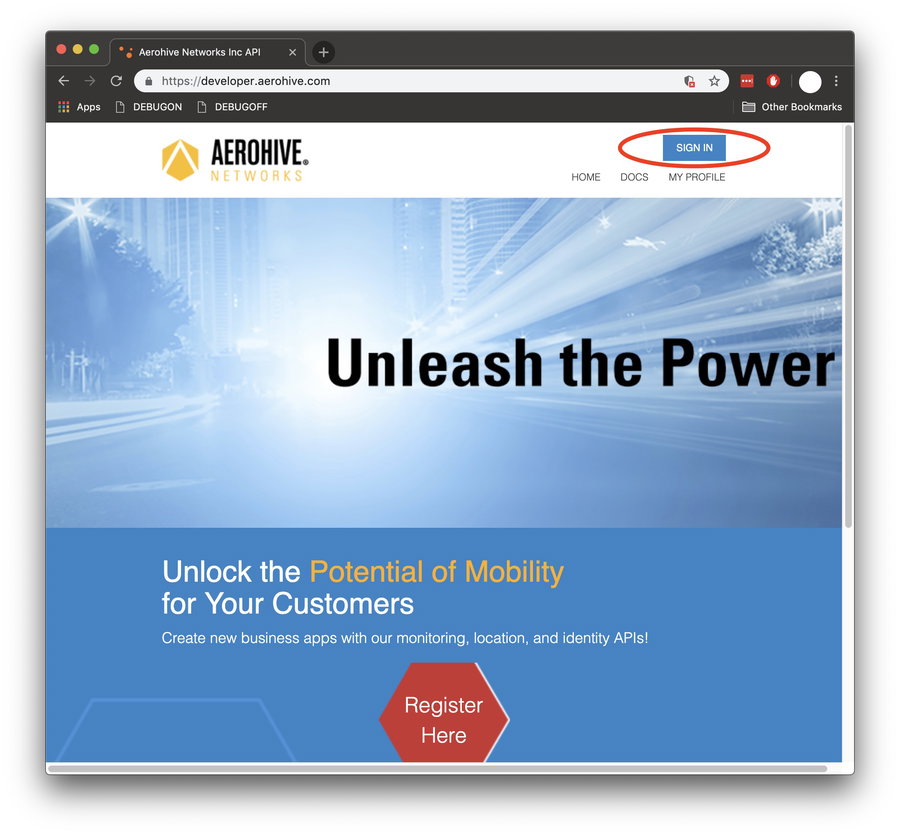
Before starting, you must request a AeroHive developer account. You can do this by navigating here and filling in the form: AeroHive developer website
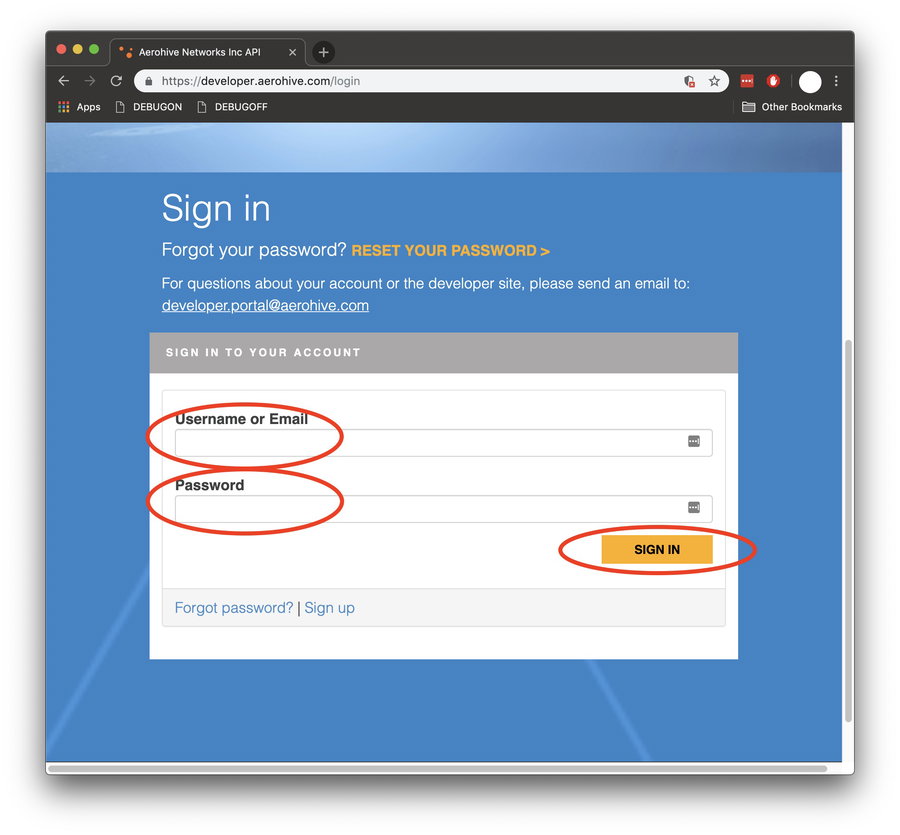
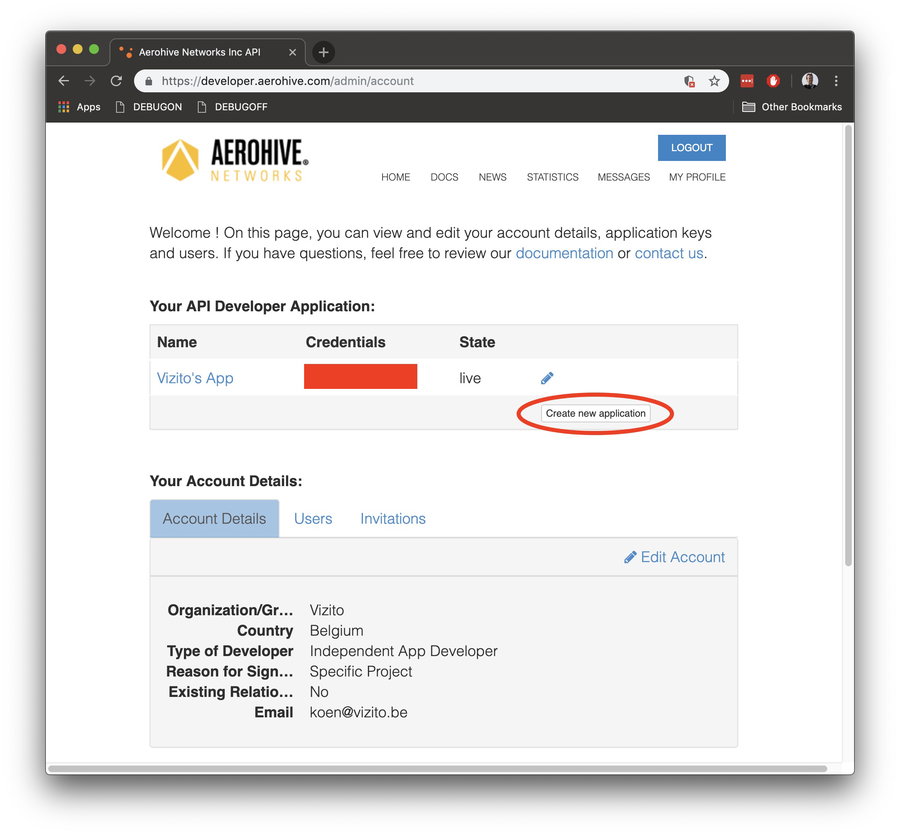
Once you have a developer account, log in to the developer website and create a new application in order to get your Client secret and Client ID:
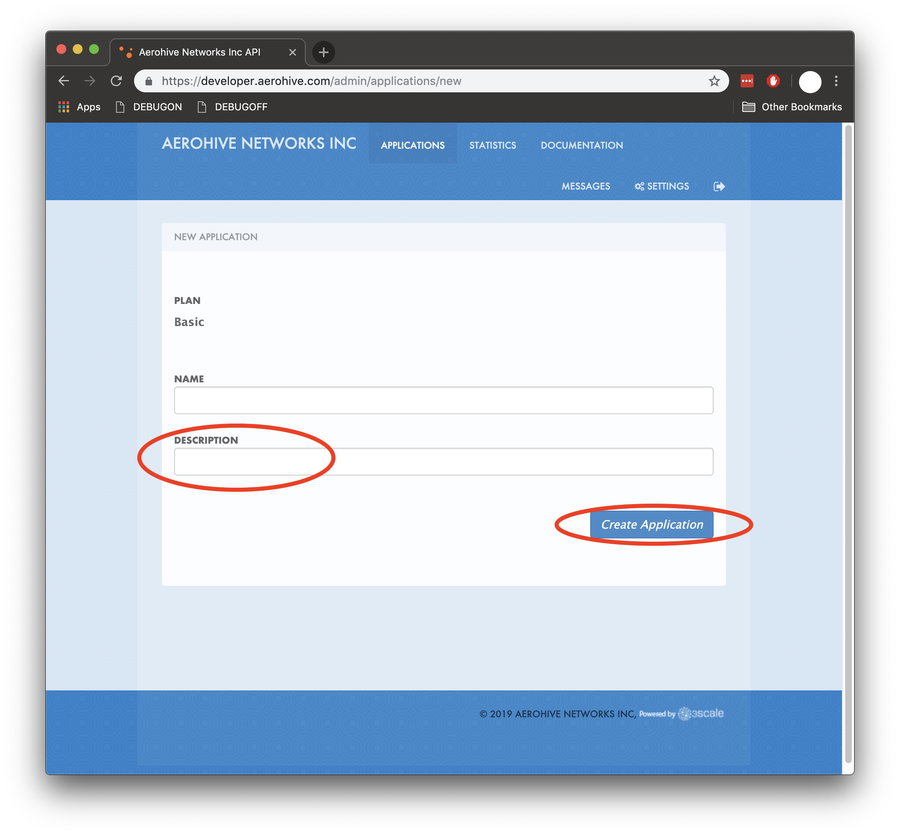
On the dashboard, click on Create new application:
Fill in a name and description for the application.
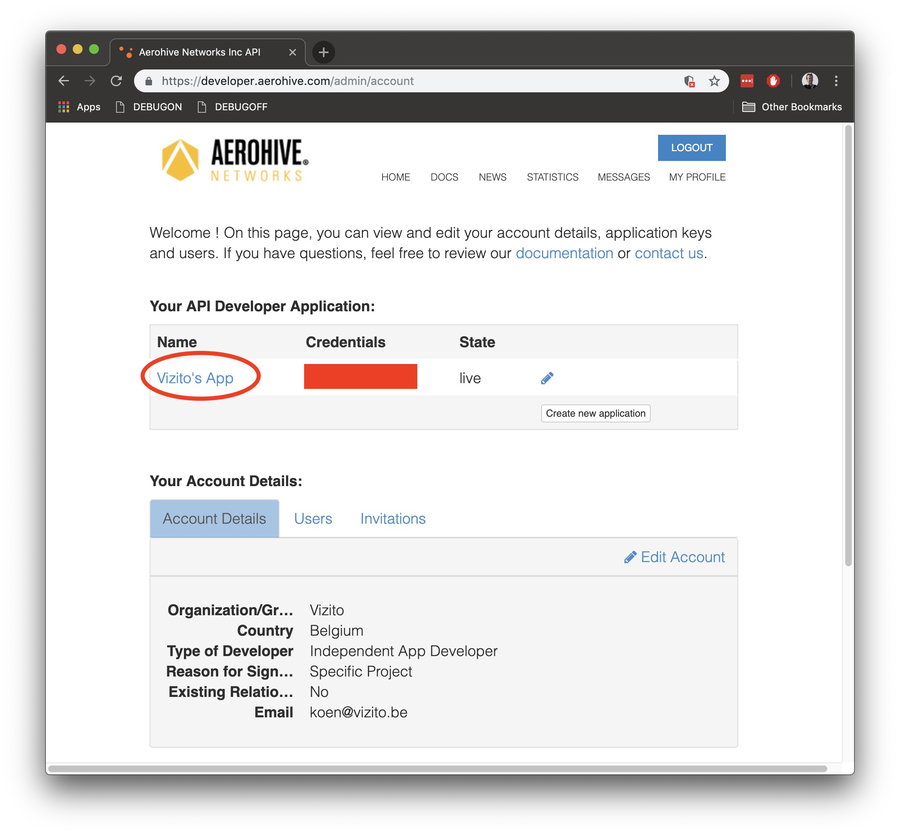
Click on the API Developer Application name that you just created:
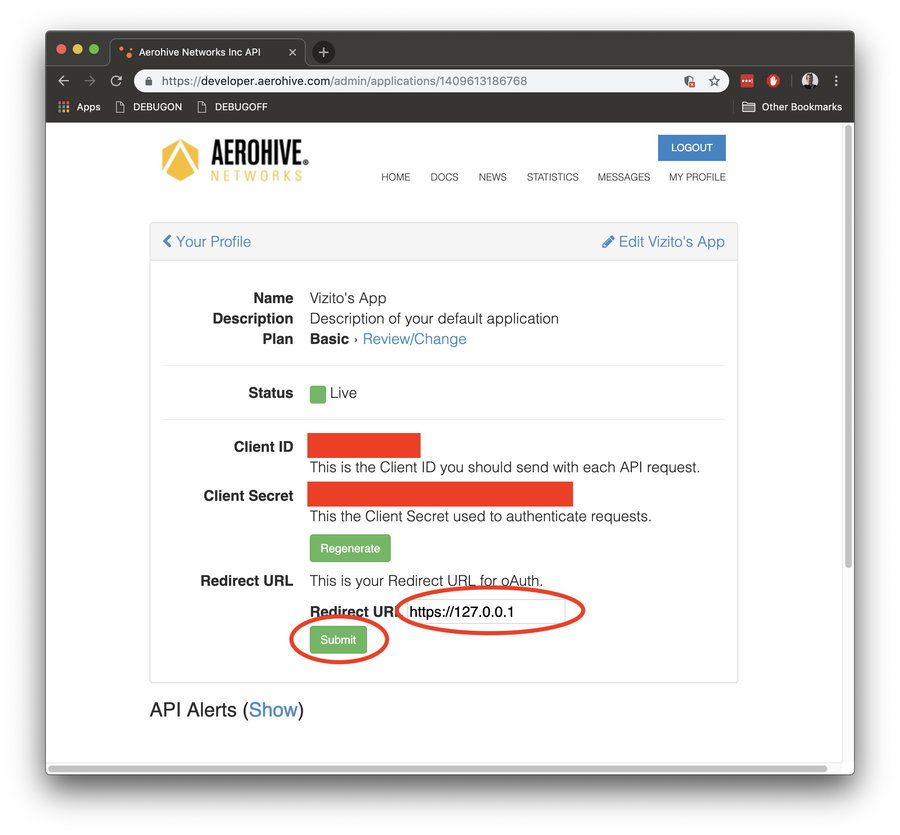
Set the Redirect URL to https://127.0.0.1/. Copy or note down the Client ID and Client Secret and click on Submit:
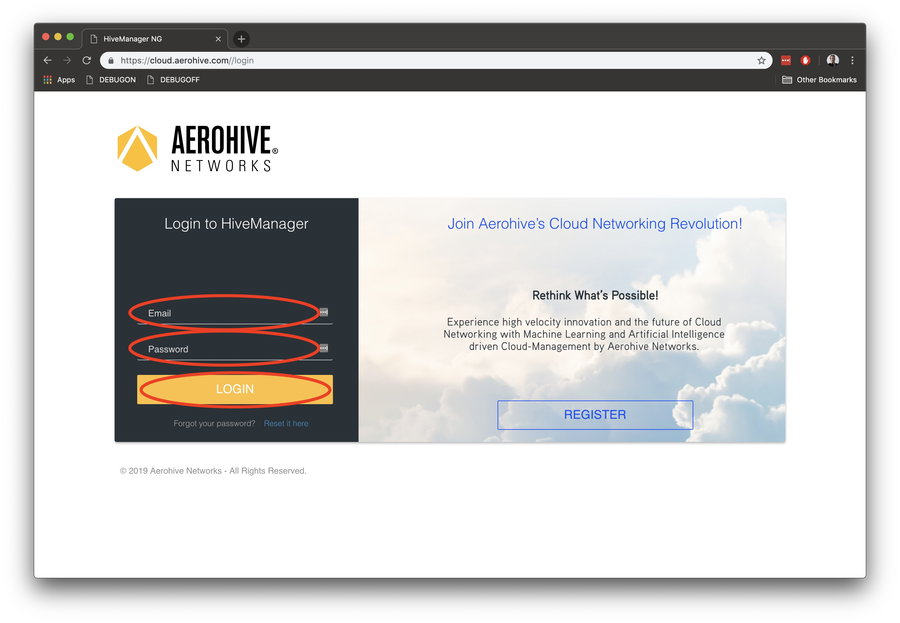
Next you need to login to the AeroHive Manager NG platform. Go to AeroHive Manager NG platform and log in with your credentials (these are not the same as the developer credentials):
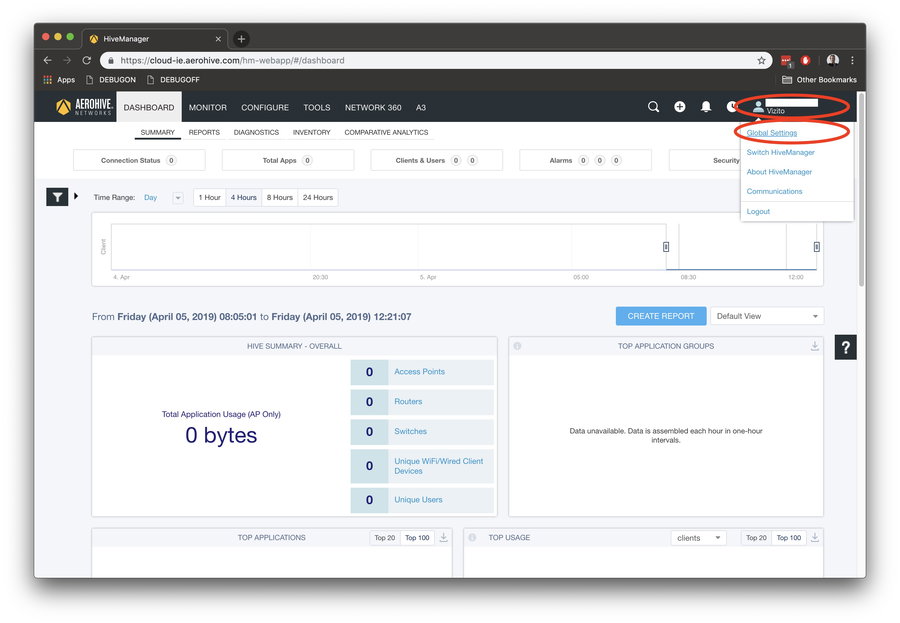
Now you will see the dashboard. Go to your profile and click on Global Settings:
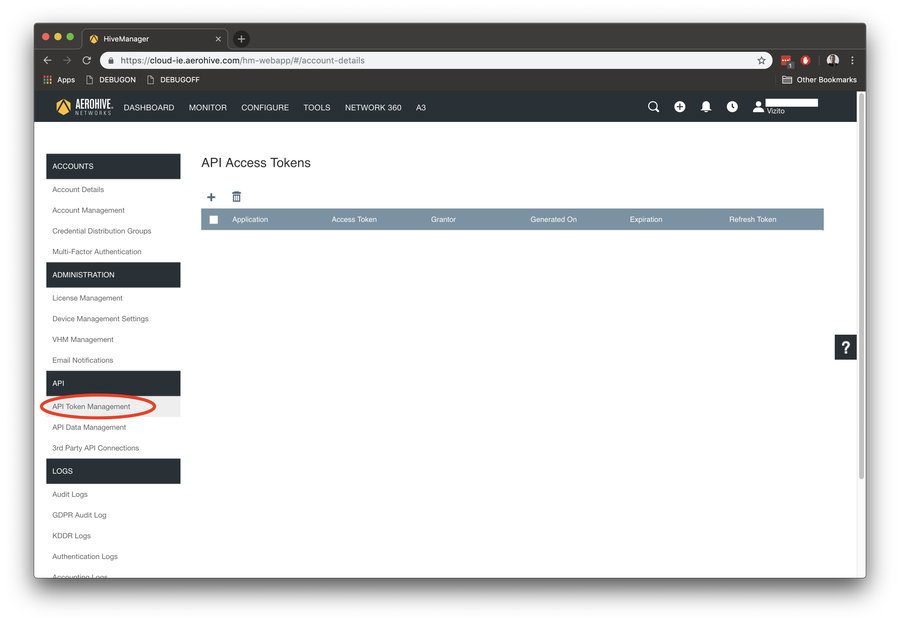
Select API Token Management:
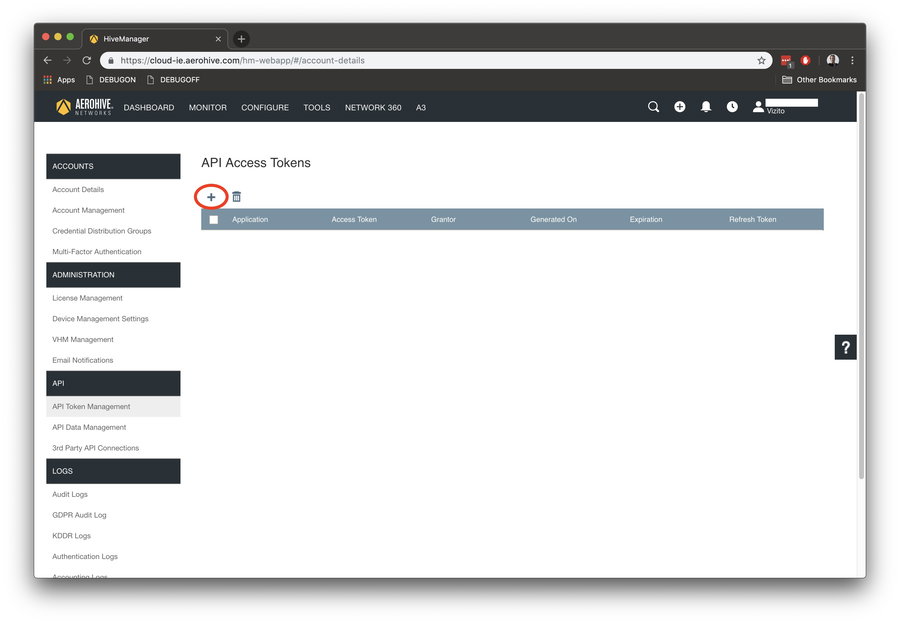
Add a new API Access Token by clicking on the + icon:
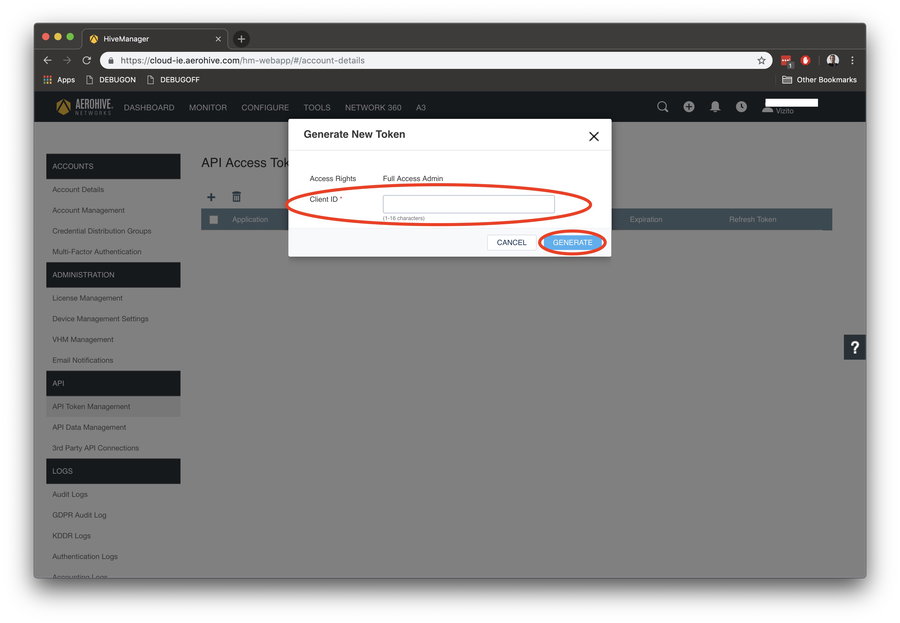
Enter the Client ID that you noted down earlier when creating the Application on the developer portal:
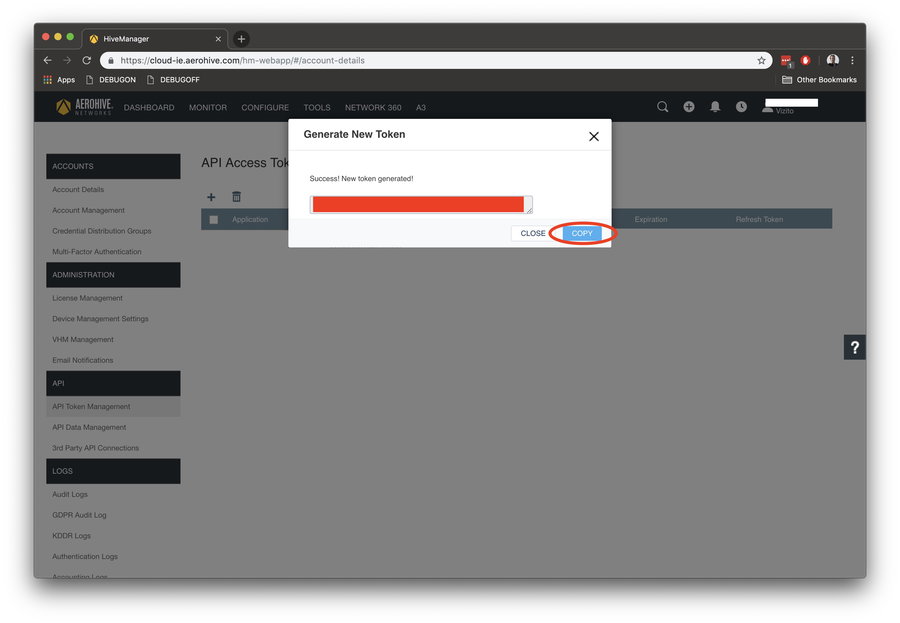
You will get a message displaying a new token. Copy this token:
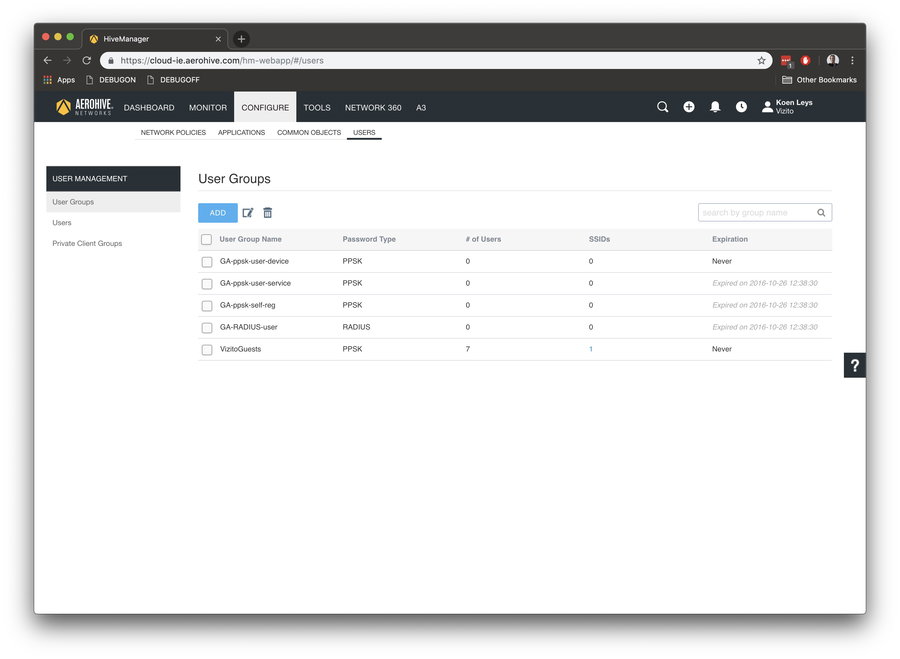
Next add a new group for Vizito by going to the menu Configure > Users > User Groups:
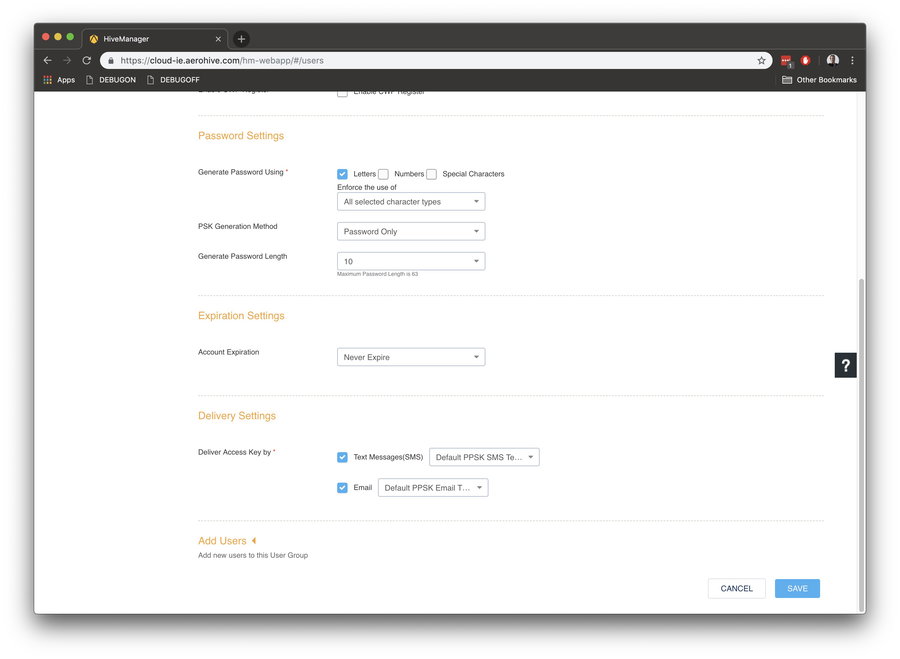
Click on Add and enter the details of this group:
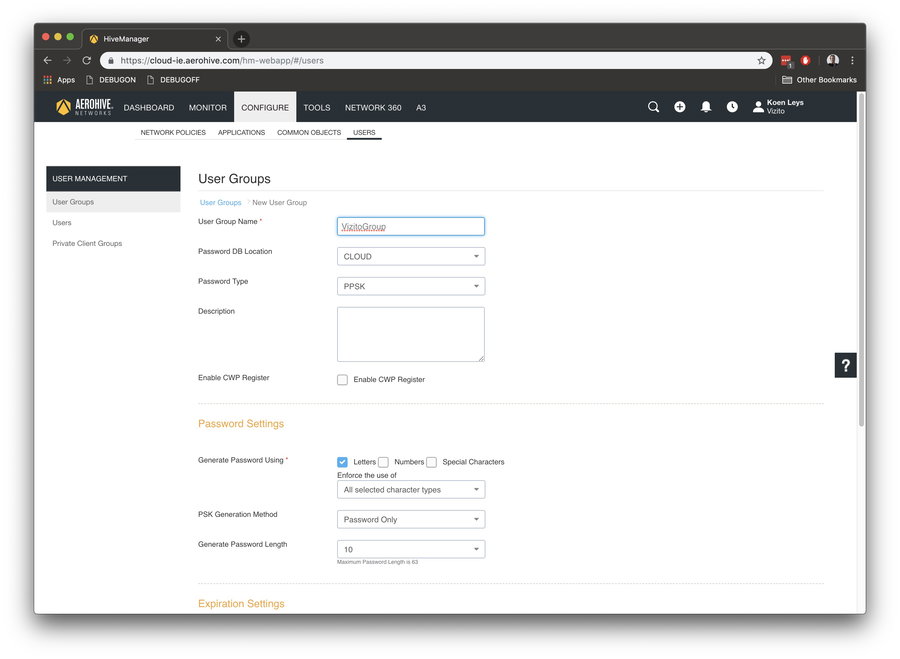
Here you will be able to specify things like the length and complexity of the key, as well as define what visitors have access to and what not:
Next we need to get the Group ID from Aerohive. Using Google Chrome, go back to the overview of the User Groups and right click on the name of the User Group. Select Inspect. You will see a div with role=“row”. Copy the ID of the expanded div with role=“row”. It looks like this:
dgrid_26-row-11262XXXXXXXXXXX
The part behind the “-” is your User Group ID. In this example this is : 11262XXXXXXXXXXX .
Now fill in the integration details on the Vizito backoffice website:
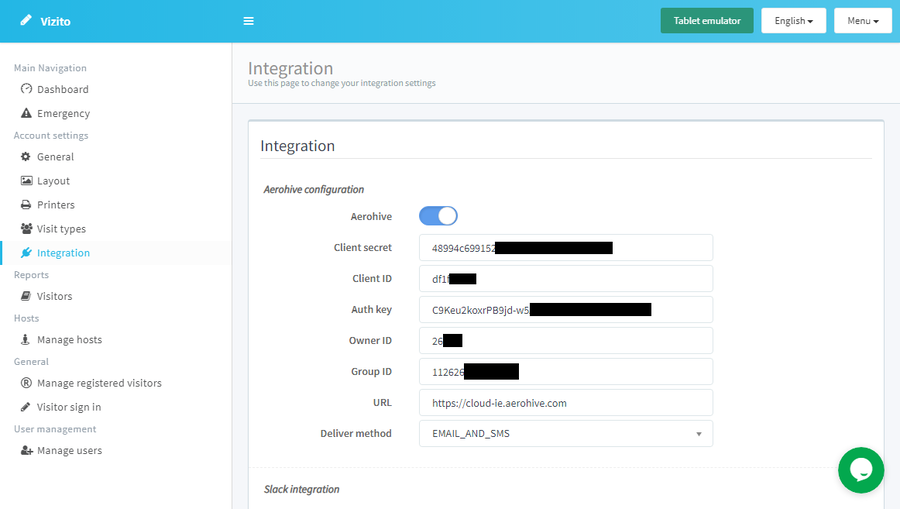
Client Secret and Client ID is the information that you got from the developer website.
Auth Key is the API token that was generated on the AeroHive Manager NG platform.
Group ID is the User Group ID that you created.
Owner ID can be found in the AeroHive Manager NG platform when you click on your profile and then click on About HiveManager. Copy the value for VHM Id.
Click on Save.
Tip: once integration is complete, you can use the %aerohive_username% and %aerohive_password% in your badge template or welcome message.
If you need any help in setting up this integration, contact us using the chat window or email us at info@vizito.be .