Visitor badges can help boost security in your workplace by allowing you to easily identify visitors. In this article, you will learn how to edit your badge template in Vizito to include all the information that you deem important to identify visitors.
Enable Badge Printing in the Backoffice
-
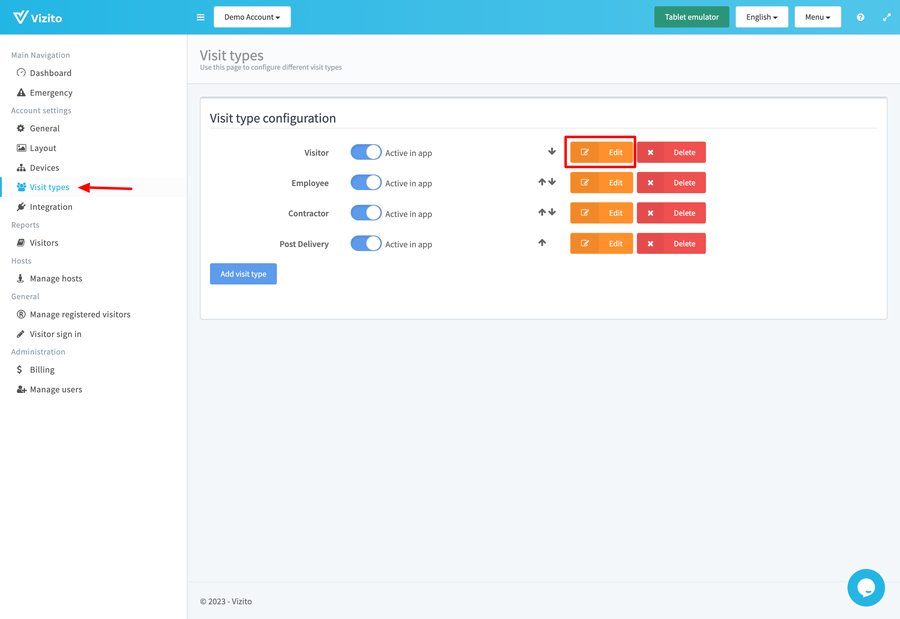
Go to Visit types > Edit the visit type that you need to print badges for.
-
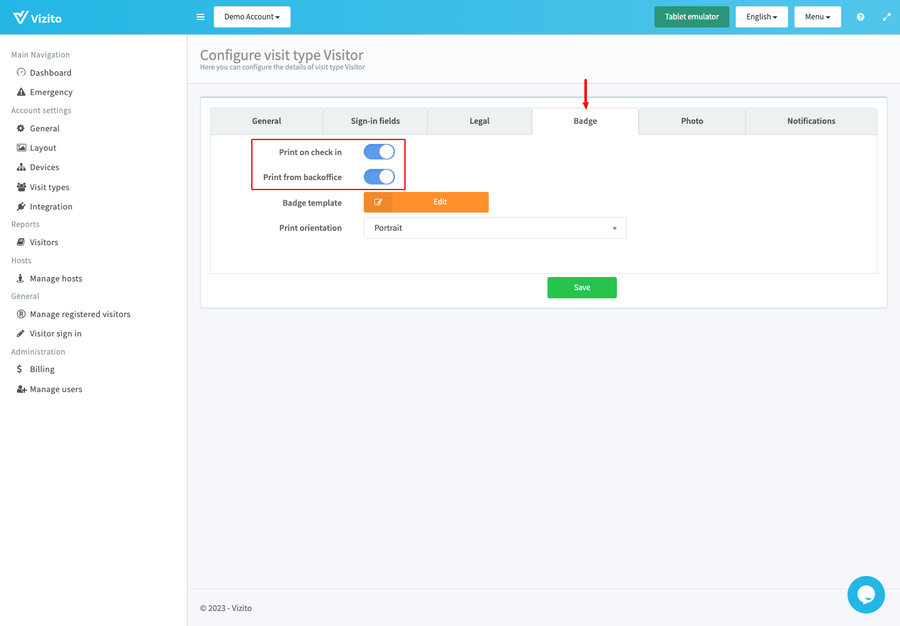
Under the “Badge” tab, toggle on “Print on check in” and/or “Print from backoffice”.
- Print on check in - will print a badge automatically after a visitor completes their sign in
- Print from backoffice - allows you to also print badges from the backoffice. This is useful if you would like to be able to reprint badges or print a badge when you do sign in visitors via the backoffice visitor sign in option.
Edit the Badge Template
Click “Edit” next to Badge template
![]()
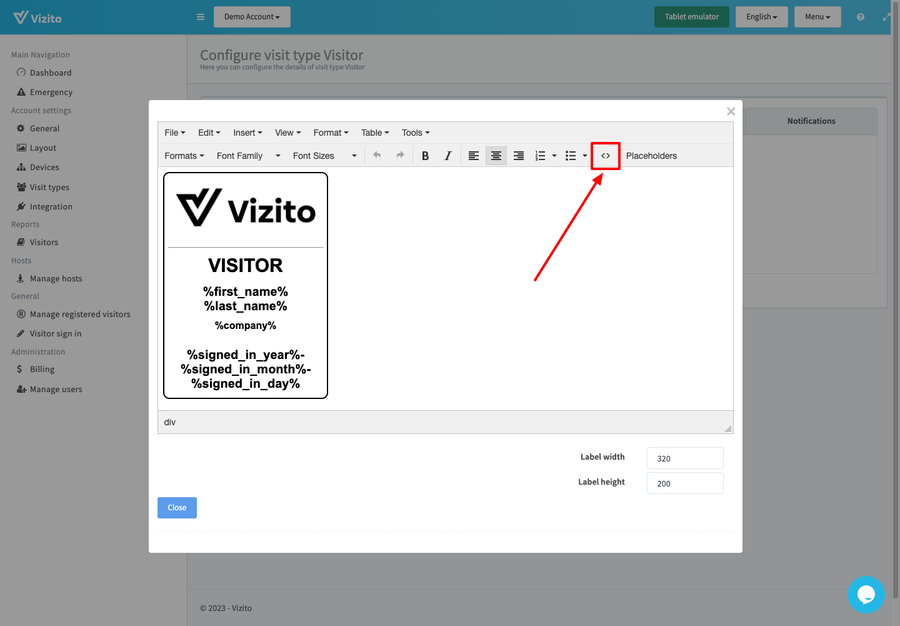
Vizito provides you with this default badge template. You can edit the text content directly in this editor.
![]()
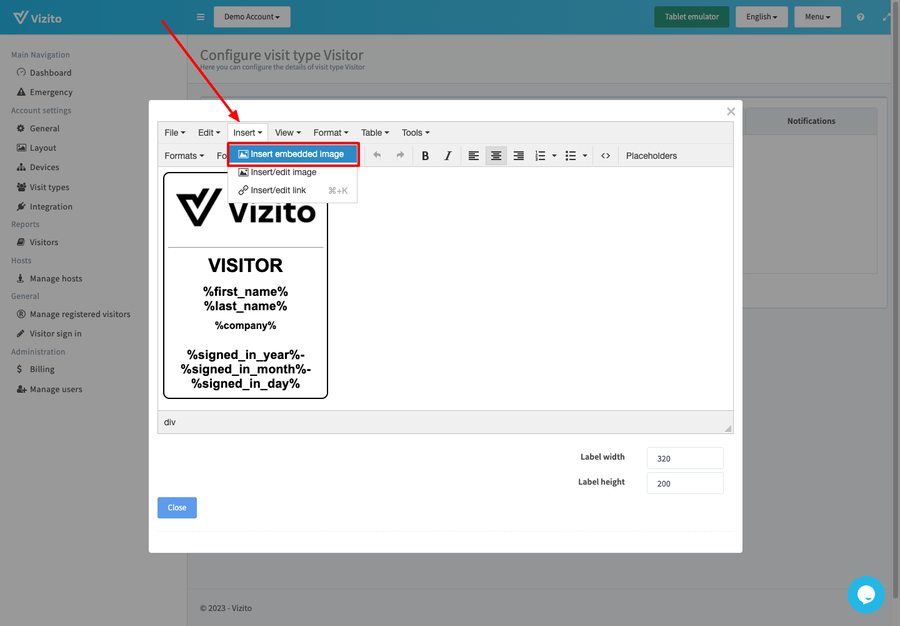
To add an image simply click Insert > Insert embedded image. You can delete the Vizito logo and insert your company logo using this method.
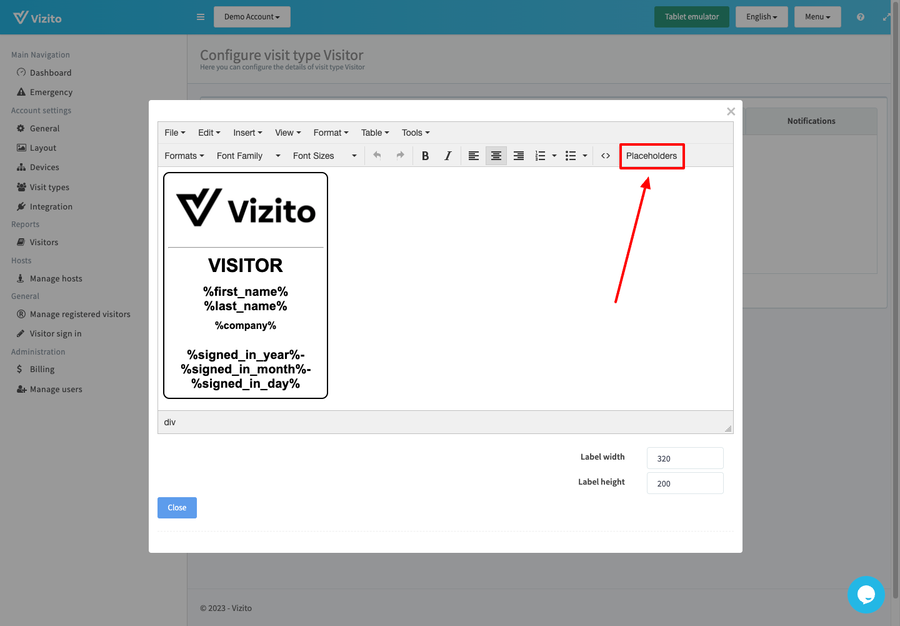
Placeholders are used to customize each badge according to the information entered by the visitor. More information on placeholders below.
Badge Variables / Placeholders
View available placeholders by clicking on the “Placeholder” button on the top-right.
There are several placeholders to choose from

- First name: %first_name%
- Last name: %last_name%
- Here to see: %recipient%
- Company: %company%
- Address: %address%
- Zip code: %zip_code%
- City: %city%
- Phone: %phone%
- Email: %email%
- Signed in: %signed_in% or more in detail: %signed_in_year% - %signed_in_month% - %signed_in_day% - %signed_in_hour% - %signed_in_minute% - %signed_in_second%
- Signed out: %signed_out%
- Photo: %photo% (This placeholder can only be used directly in the HTML source code of your badge template. For example:
<IMG SRC="%photo%"/>Find more instructions on how to access the HTML source code in the chapter below.) - QR code: %qrcode-placeholdername%
Replace “placeholdername” with a hardcode value you want to use. See examples below:
-
A URL to your website:
%[qrcode-vizito.eu](https://qrcode-vizito.eu/)% -
A reference to a field that exists in your Vizito configuration
%qrcode-recipient% will generate a qrcode with a value of the Host being visited
%qrcode-known_visitor_id% will generate a qrcode for the registered visitor. Registered visitors can scan this QR code to sign out. This can be applicable for all visitors signing in if you allow all visitors to be saved as registered visitors. Enable this setting under Visit Types, open the Advanced Settings and turn on “Automatically create registered visitors”.
Note that you can even use your custom fields, be sure to encapsulate the keyword with the % sign and remove any spaces.
We’ve added something extra along the way to give you more flexibility toward our messages: curly brackets “{ }”. If the visitor leaves a field blank and there is no information to add to the badge, the entire message within the curly brackets will be hidden. This adds an extra dynamic.
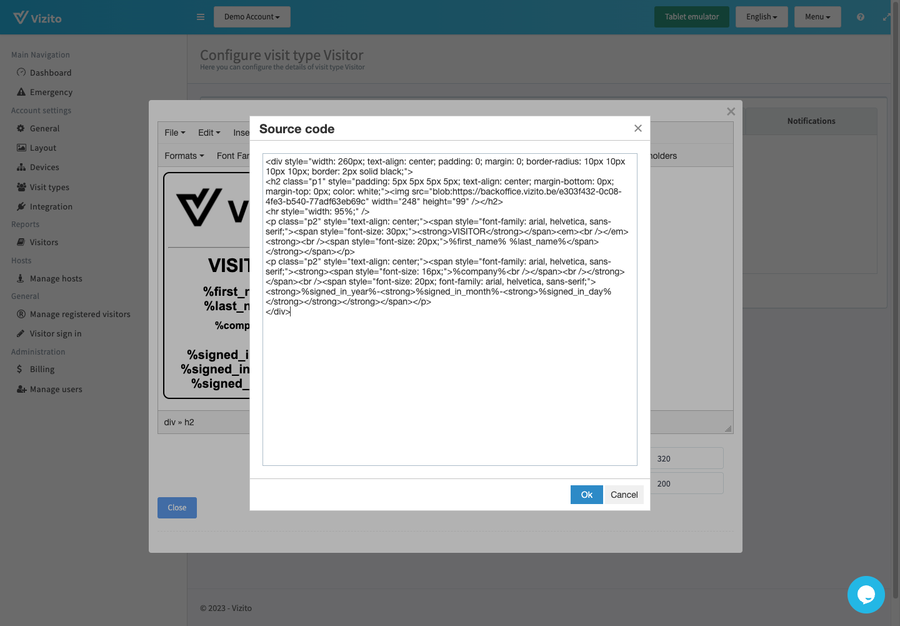
Source code for advanced customization
If you want a different design or more advanced customization options, please feel free to edit from the source code.
The button to open the source code is found on the top bar.