Video tutorial
Prefer a text version? Please scroll down.
By default you have one visit type active and enabled. You’re free to add more visit types if you wish to differentiate further in your type of visitors.
First navigate to the Vizito backoffice and in the left menu select “Account settings” > “Visit types”
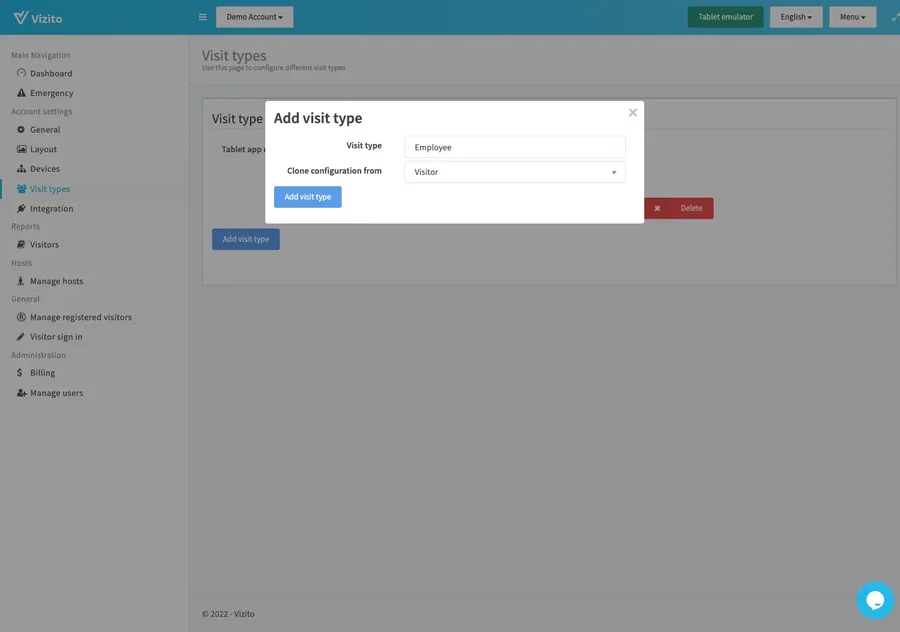
Click the “Add visit type” button and enter a name and optionally, if you want to copy the configuration from an existing visit type.
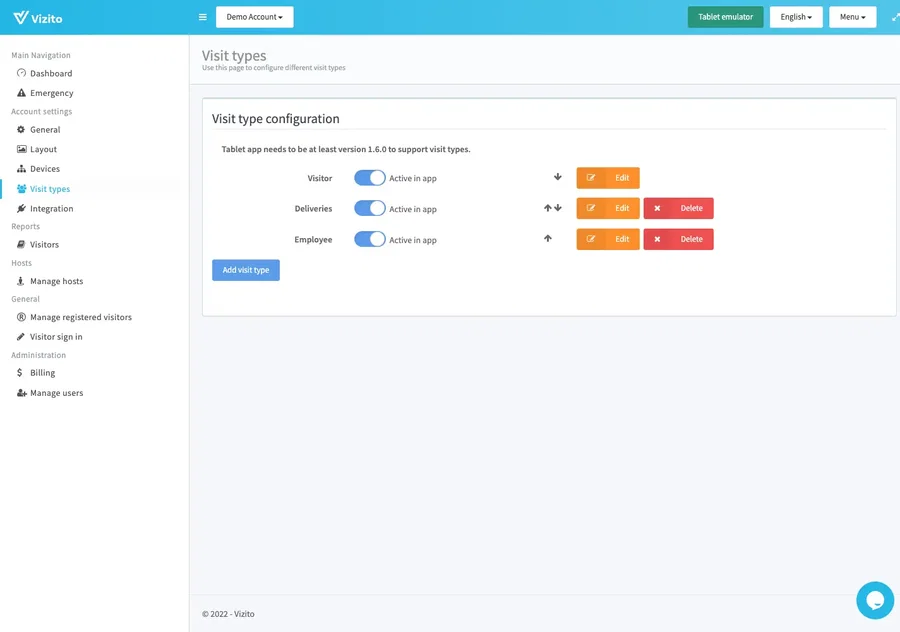
Now you can see the visit types available in your Vizito account. You can disable visit types if don’t want to use them. “Active in app” specifies if they are active in the Vizito app. Press the “Edit” button if you want to configure the visit type further.
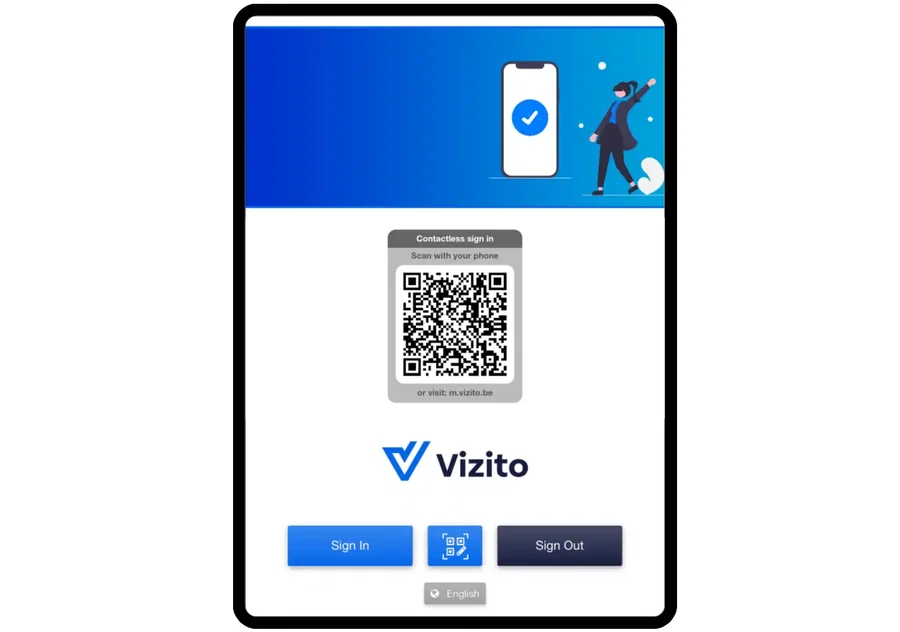
In the Vizito app, the visitor will be prompted to select their corresponding visit type:

After selecting your visit type the Vizito app will show the corresponding fields and configuration active for that type.
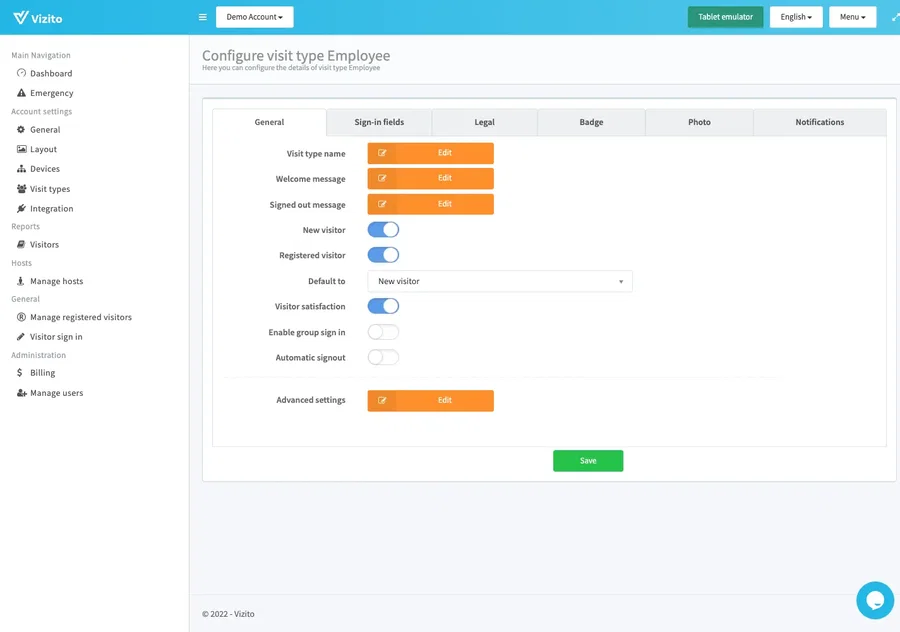
On the Vizito backoffice you can further configure the types separately:
The General tab will allow you to change the visit type name and welcome/signed out messages. You can also configure whether or not you’ll show the “New visitor” / “Registered visitor” tabs in the Vizito app and whether you will enable the Visitor satisfaction survey, group sign in, and automatic signout.
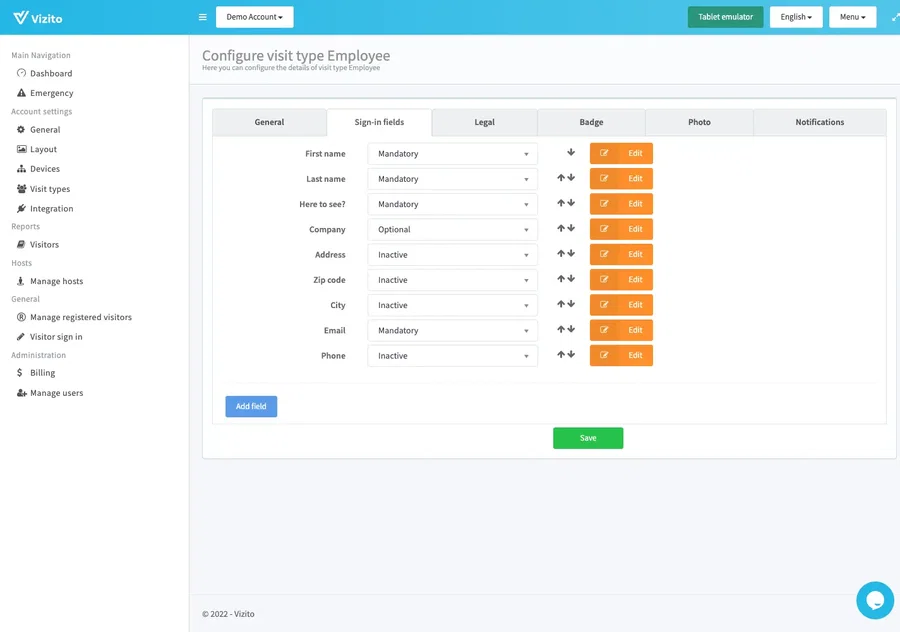
On the Sign-in fields tab, you configure the fields active for this visit type:
More detailed information can be found here: Sign-in field configuration
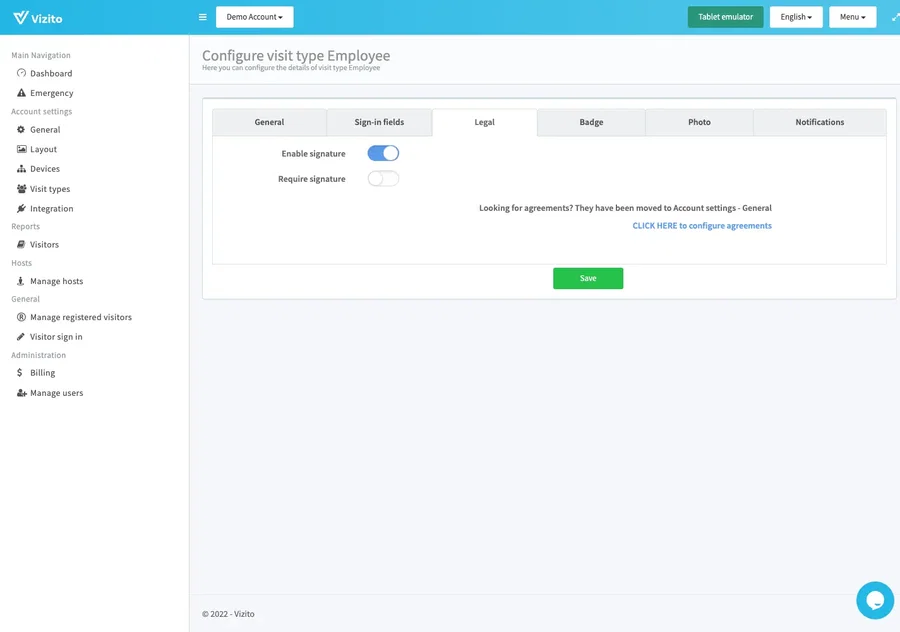
On the legal tab, you can enable the signature feature and set it mandatory or optional:
On the badge tab, you can enable badge printing on check-in and configure a badge template:
![]()
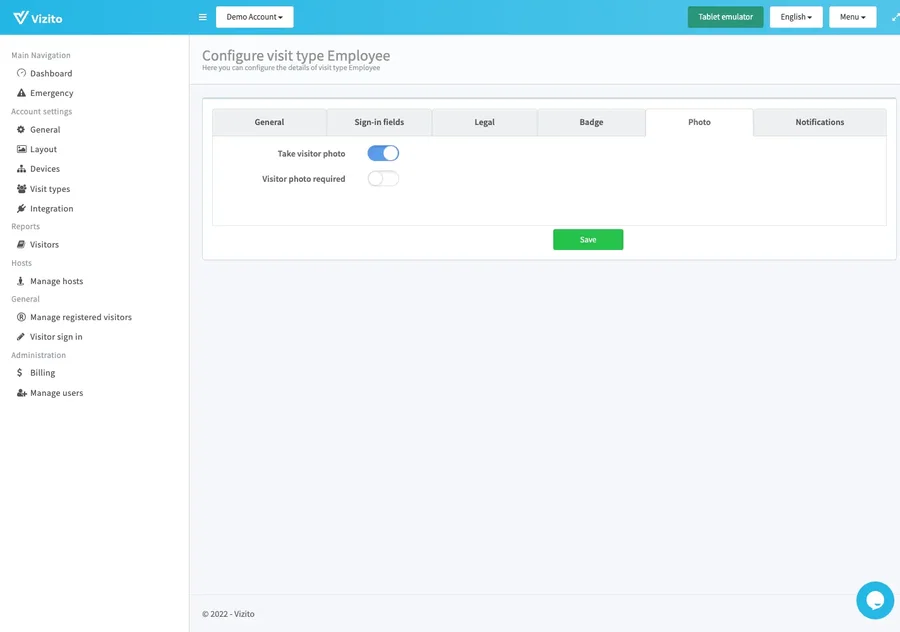
On the photo tab, you enable the photo feature:
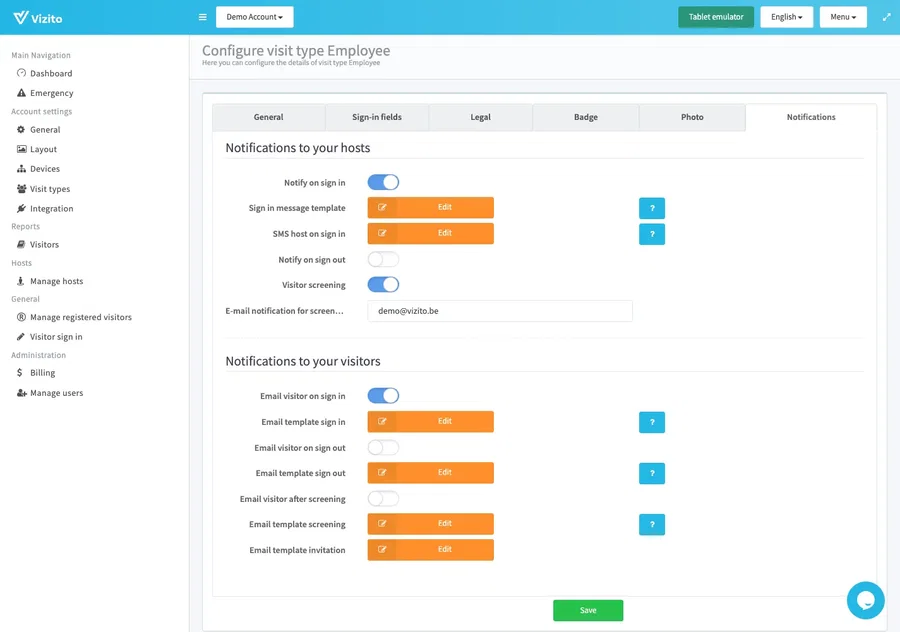
On the notifications tab, you configure an email to be sent to your visitor after signing out: