Jul 17, 2026
8 Practical Tips for a Successful Visitor Management Strategy
Setting up a digital visitor management system takes less than 30 minutes. You need a tablet or touchscreen PC, an internet connection, and a few minutes to create an account, install the app, and customize the settings.
Written by Jill, Content Manager - Written: April 7, 2022 - Last updated: June 25, 2026

Setting up a digital visitor management system takes less than 30 minutes. You need a tablet or touchscreen PC, an internet connection, and a few minutes to create an account, install the app, and customize the settings. Here is a complete step-by-step guide to get you started.
To manage your visitors digitally, you don’t need much. With nothing more than a tablet or a computer you can already get started. Place your tablet in a tablet mount or stand and add a label printer, and you’ve got the perfect set-up.
The visitor management system Vizito can be installed on any Apple iPad built after 2015. Most customers opt for the regular 10.9 inch iPad (10th generation model 2025).
For Android, we recommend devices built after 2018 for optimal compatibility. Most of our customers opt for Samsung tablets, such as the Samsung Galaxy tab A 10.1 (SM-T510).
No tablet at hand? No worries: you can also use a PC with touchscreen to run the app. We recommend using a system lockdown application to protect the PC from unwanted access, such as KioWare.
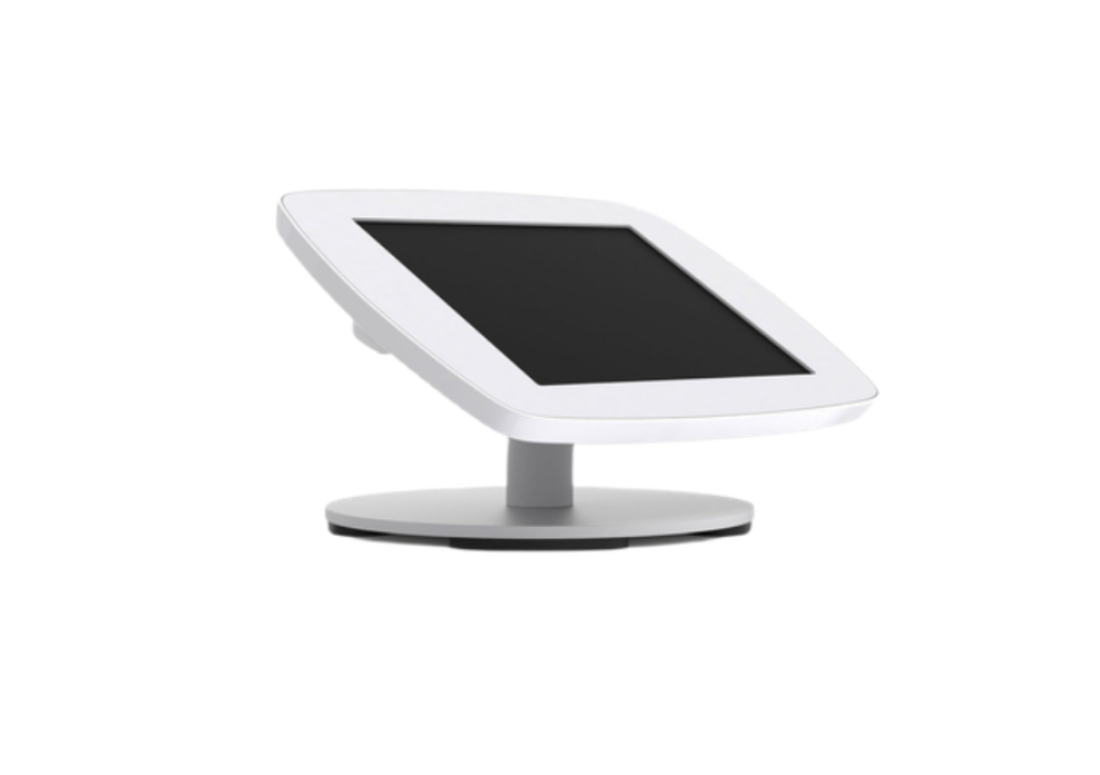
To integrate the tablet smartly into your reception area, you can use a tablet mount, such as Bouncepad.
You can opt for a desktop model, wall mount or floor stand.
If you want to print badges for your visitors, you will also need a label printer. We recommend this Brother label printer.
Here is a link to the hardware required for a visitor management system.
Installing a digital visitor management system doesn’t take long. Follow these five steps to get up and running.
Create your Vizito account. Enter your email address: you will receive an email with a confirmation link.
Once you have confirmed your account, you can install the app on a compatible device.
IPad users can download the Vizito app in the App Store.
Android users can download the Vizito app in the Google Play Store.
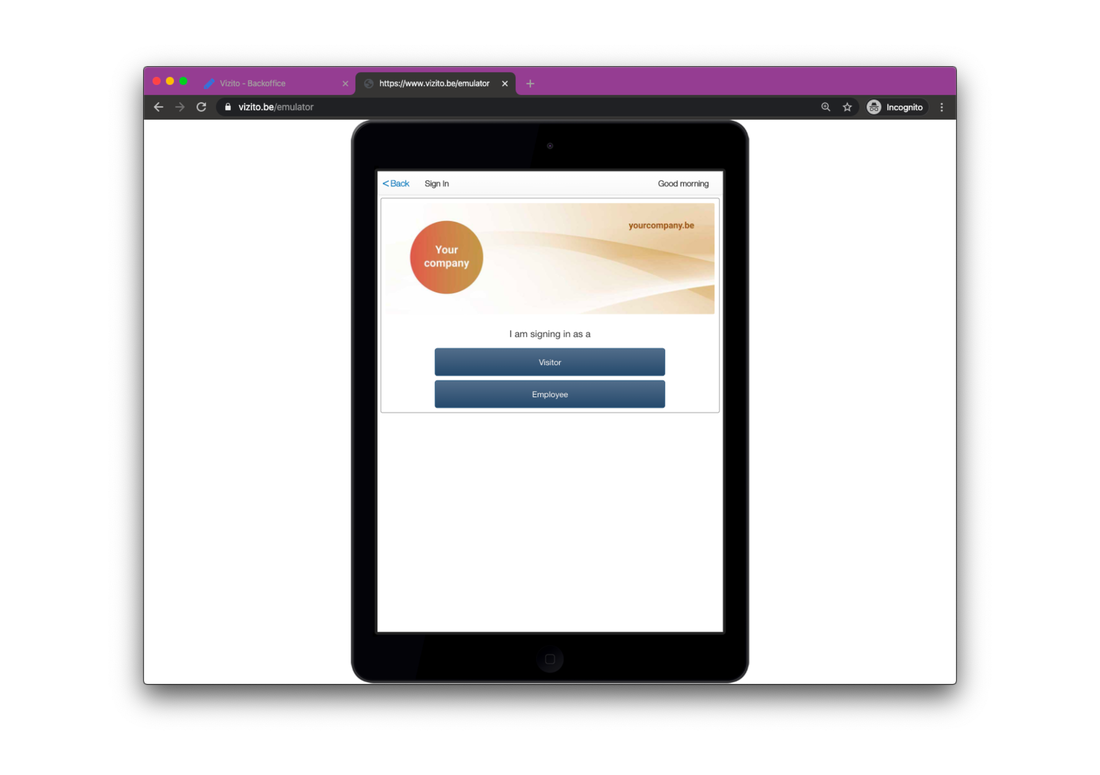
If you don’t have a tablet, we’ve got you covered as well. You can also use Vizito in Google Chrome or FireFox browsers on your PC. Open this page to start the emulator.
You can activate as many devices to your account as you like.
Open the Vizito app once you’ve installed it. You will see the following information:
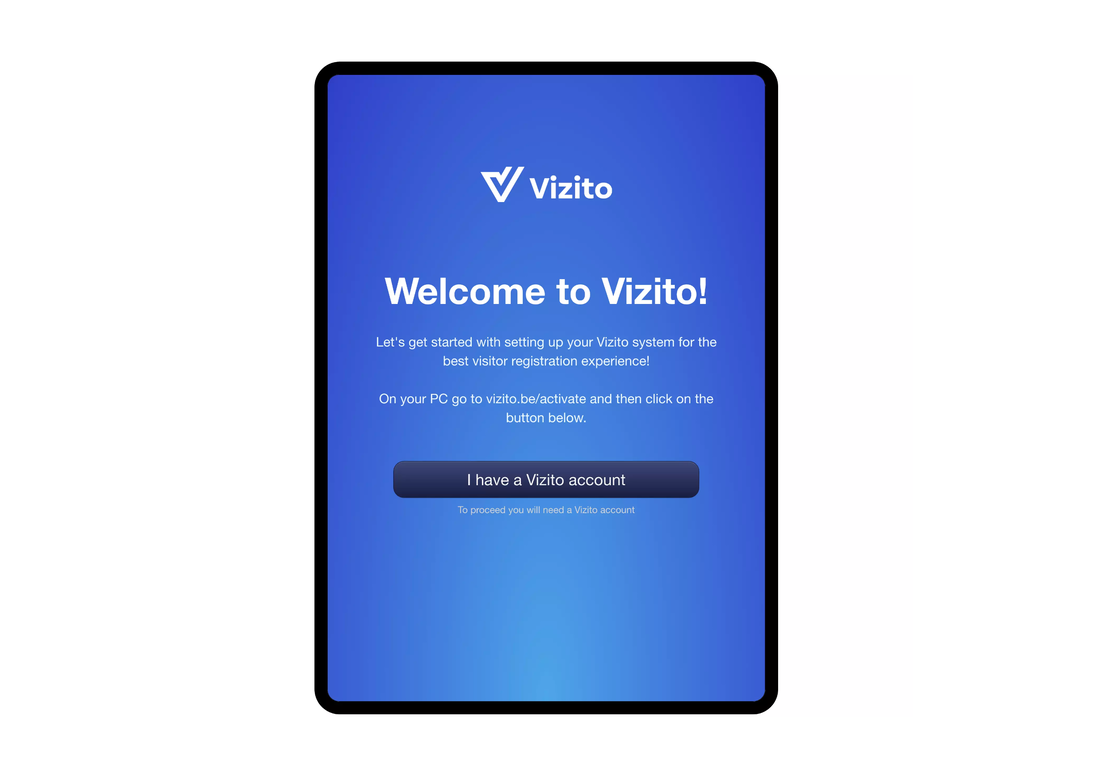
Click on ‘I have a Vizito account’.
A unique code will be shown that you’ll need to activate the device. Leave the Vizito app open and the device active.
Activate your Vizito device in your browser or manually open the webpage https://vizito.eu/activate and enter the unique code that is shown on your device.
Your device is now succesfully linked to your account.
If you’re facing difficulties activating your device, please take a look at our Help Center.
Log in to the back office website to customize the app to your own needs. You can choose visitor types, fields that should be shown in the app, and adjust the app to your branding.
The Vizito team can help you providing photos to personalize the app.
To make the most out of your digital visitor registration app, you may want to explore corporate web design services to ensure your system’s interface is professional and user-friendly.
More information about privacy settings in Vizito.
By default, one visit type is active and enabled. You’re free to add more visit types, like for instance ‘supplier’ or ’employee’. In the Vizito app, the visitor will be prompted to select their corresponding visit type.
You can configure these visitor types separately. For example, you can show a different welcome message for each type of visitor, choose whether documents should be signed, and whether a badge should be printed.
More information on visit types.
You can integrate the app with the applications you use within your company, such as Google Workspace, eID integration, Slack, Teams or KioWare QR code scanner.
More information on Vizito integrations.
A complete overview of all settings in the Vizito app can be found in the Vizito Help Center.
Make sure to lock your tablet in kiosk mode so that visitors will only have access to the registration app. This will prevent users from changing settings or using the tablet for other purposes.
Find out how to enable kiosk mode on iPad.
Find out how to enable kiosk mode on your Android tablet.
If you’re not using a tablet, but a PC, you can enable kiosk mode by using a dedicated app such as KioWare windows kiosk.
Once you’ve completed these steps, you’re all set to get started with digital visitor registration. Learn more about the benefits of digital visitor registration.
More questions? Our team at Vizito is ready to help. Chat with us or book a demo to discover what Vizito can do for you.
To get a feel of how a modern visitor management system can help your business grow, try out Vizito during a 14-day trial or chat with us to discuss how Vizito can help you improve your reception.
Sign up in seconds - no credit card required.
Continue with Microsoft Continue with Google